Evac prevention at the first tower
Posted April 3rd 2007, updated later
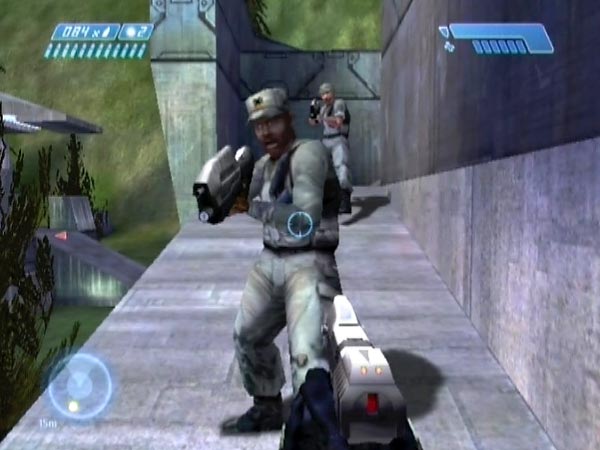
At the end of the battle at the first tower, you can stop survivors leaving on the Pelican by blocking the ramp leading down (assuming they retreated onto the tower at some point, which they usually all do). Standing anywhere along the ramp will do, including the short section near the top, as long as you're in the middle of the path so nobody can squeeze past. Dead simple!
The Pelican will fly off after they've been blocked for a short while (like 20 seconds or so, though it can vary a bit). Once you see it starting to rise you can stand aside. The survivors will head down and hang around on the grass, and actually the Warthog gunner will join them if you make him dismount.
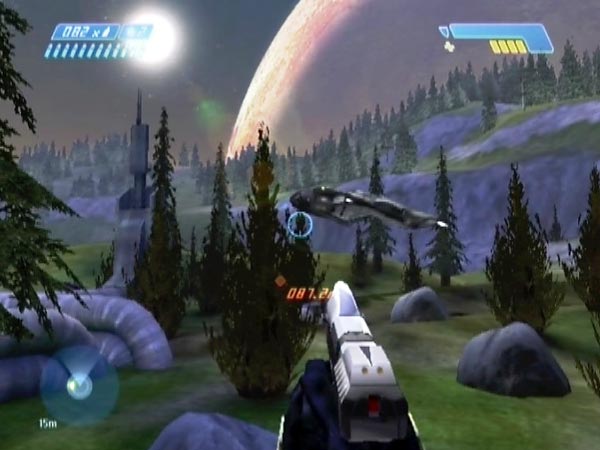
Thanks to Major Silva for putting me on to this in an email, after reading something on my site. I'd previously heard that you can block their departure by placing the Warthog across the Pelican's rear entrance, but I remember trying that and finding it awkward. This is far easier.
Actually, Major Silva had thought you needed to be up towards the top of the long section of ramp for the blocking to work. But when I checked things out for myself, it seemed to me that anywhere was okay.
Incidentally, I don't know of any early online mentions of this little trick. Quite possibly there were some, but I got the impression that Major Silva had come up with it for himself, judging by what he said. Anyway, whatever the origin, here are three uses of it (another one was featured in BCM290).
Use 1: Getting Johnson aboard the Warthog
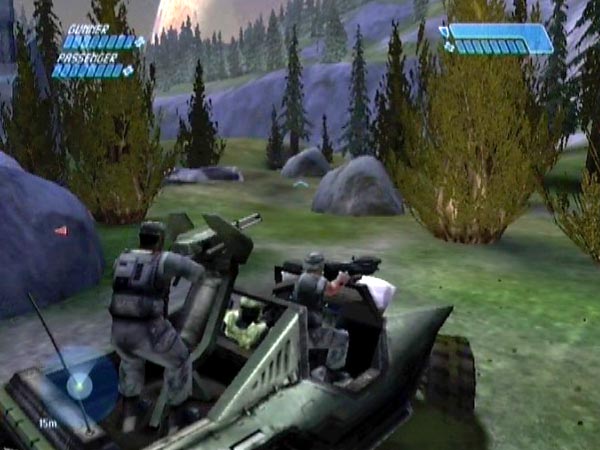
As Major Silva pointed out to me, this can be used as a way of making sure you get Sergeant Johnson aboard the Warthog if you want him. He's good fun on the chain-gun; excellent vocals. Maybe you want him in a rockslide megabattle you plan to set up, or maybe you just want him for all the normal combat in the remainder of the level.
It should be quite easy to pick him up once everyone is milling around, though you may need to be careful not to splatter anyone. If he's initially only in the passenger seat, you can get him swapped around to the chain-gun later.
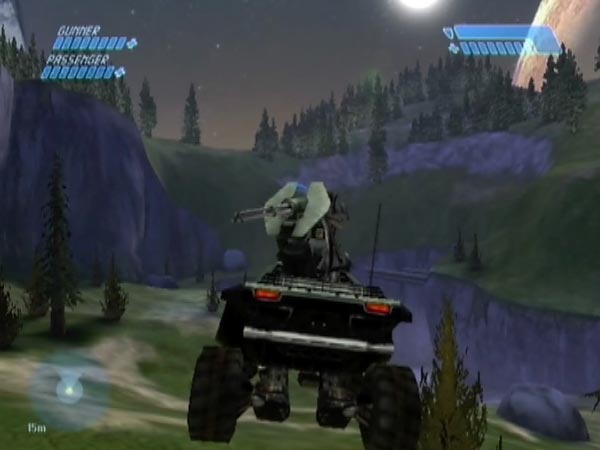
Actually, if getting Johnson is your sole aim with this blocking business, the thing to do is to let survivors pass you on the ramp until he's approaching; then you block. The ones you let through will fly off in the Pelican, aside from a Marine taking the Warthog's passenger seat. You'll hopefully then have a smaller group from which to extract Johnson.
Major Silva suggested the alternative approach of just killing some of the guys you don't want, but that's just asking for a court martial and I reckon he'll be Private Silva by the time the authorities are done with him!
Use 2: Collecting Marines
You can also use the trick as a starting point for getting all the Marines into the later part of the level, where they can be put to use as reinforcements in the rockslide megabattle or other battle scenarios. Ferry them to near the light-bridge area, activate the bridge (keep your guys back out of danger), and ferry them across while the bridge remains up (it goes down by the time you start the 'Reunion Tour' part of the level).
Use 3: Fun turning traitor
You can have a bit of fun by turning traitor. Kill a few of the survivors and you'll soon be having to duck bullets and dodge grenades. With this little disagreement in mind I like having a full needler so I can send a few of the guys up in nice pink explosions. You can fire on them from up on the tower, or wherever.
Keeping survivors healthy
If you want to keep survivors as healthy as possible for whatever you're going to do with them, here's my advice on dealing with the six dropships. You can see a demo in the latter part of BCM652.
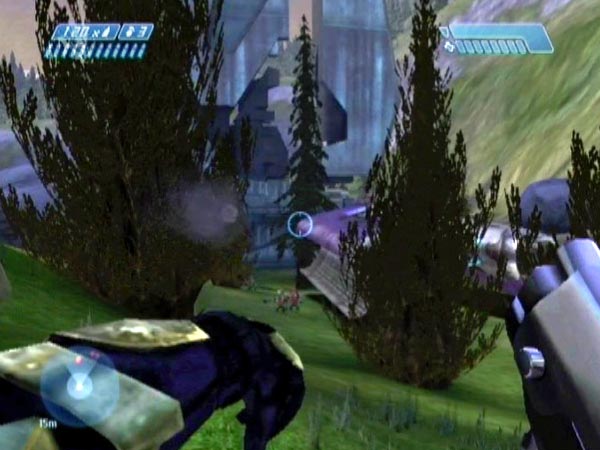
When you arrive on the scene, be armed with a pistol and plasma rifle. Throw a frag among the Grunts on the left as they dismount from the ship (see pic), then use quick pistol fire to help polish them off - or throw a second frag. An Elite or two will probably be starting to attack Marines by the time the ship is out of the way, and it makes sense to divert their attention as soon as possible. Charge them with the plasma rifle, going in hard. It won't matter if you take heavy damage; you can use a medkit shortly if needed.
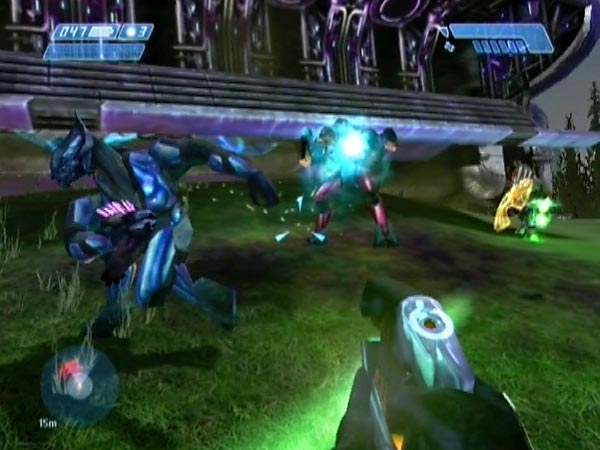
Let sarge & co. talk to you before you head off to tackle the next dropship, else they're liable to run after you into danger.
Try to blitz the remaining ships up close, making sure to get the Elites first. These troops should never even get near the survivors. I'd recommend using a plasma weapon and pistol for this phase of the work. Perhaps the plasma pistol has the edge over the rifle, but both can do a great job.
The penultimate dropship, namely ship 5, can be tricky because it could easily be down before you're on the scene, and it's also a relatively nasty one, including two Elites on Heroic. My tip for arriving in time is to finish off ship 4's Grunts with a pistol when already on your way to the new drop zone, so the ship gets triggered as late as possible. Looks like it's only triggered when the enemy count falls below 3.
But they don't always retreat
Obviously the trick is dependent on the Marines retreating onto the tower. However, I've had occasions when they failed to do that. Is there a way of ensuring a retreat? I'm not sure. I had thought that maybe it depends on whether you're sufficiently near the tower as dropship 5 is arriving, which is when they often seem to retreat. And as such, maybe after tackling dropship 4 you should pause near the tower until you hear Johnson give the retreat order. However, it's also possible that a retreat has occurred earlier; e.g. by the time dropship 4 is hovering. The workings remain unclear to me, is all I can say for sure.