Goldie fireworks
Posted January 3rd 2017
Associated movies
The basic idea
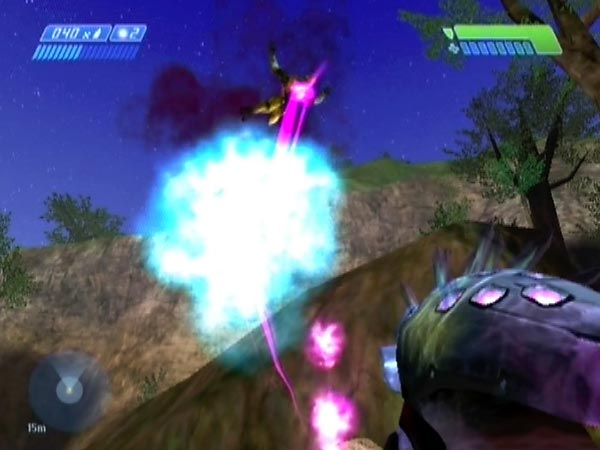
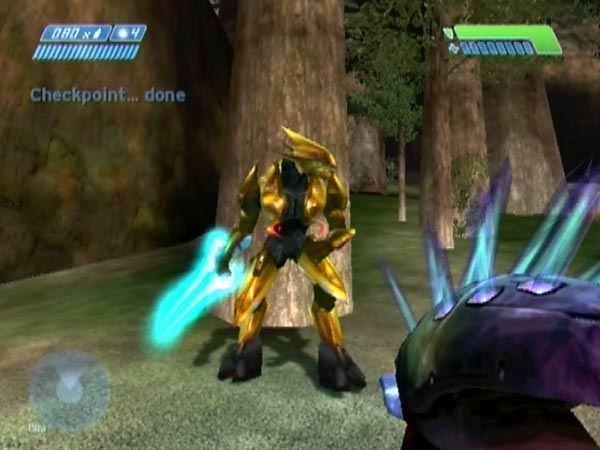
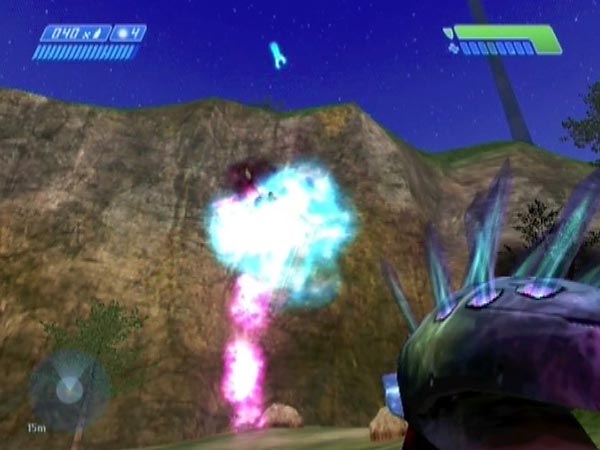
In previous articles I've talked of Elite fireworks and Grunt fireworks in level 5, and Hunter fireworks in level 4. The common aspect is that you create one or more frozen covies, who you can then launch by killing them and subjecting them to certain actions - such as needling, tagging, and rocket blasts - then crossing a 'release line' to unfreeze the subject and see the actions take effect. That typically means seeing him launch into the sky, with successive needle bangs going off. Very nice!
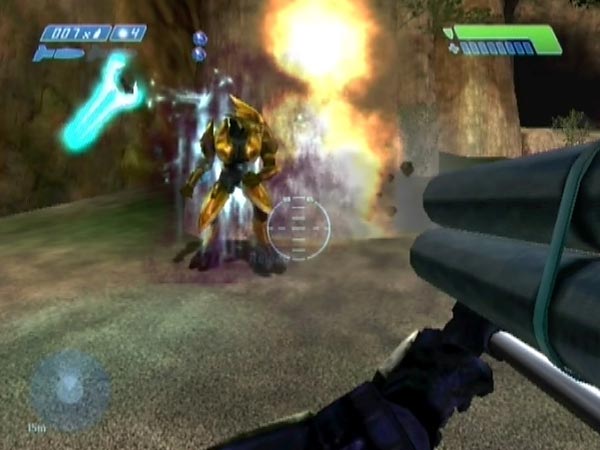
You can also do this with the gold Elite in level 4, which is what I'll cover here. I've been meaning to cover it since May 2014 when I realized it could be done (giving a passing mention in my short Gold Elite leading article).
More specifically I'll mostly just be talking about the set-up work. For details of the fun you can then have, and how things work, see the Elite fireworks article, which goes into depth on multiple pages.
Setting up
Any difficulty level can be used, but I suggest Easy to make covies easy to kill or bypass. There'll be fewer needlers around, but that's not much of a concern. You can see me setting up on Easy in BCM212.
Decide and prepare the launch area
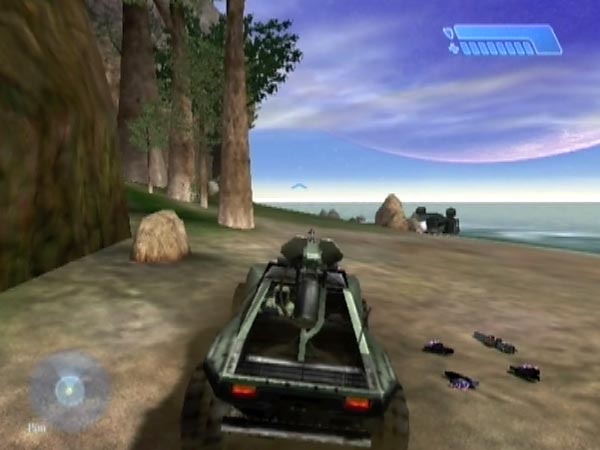
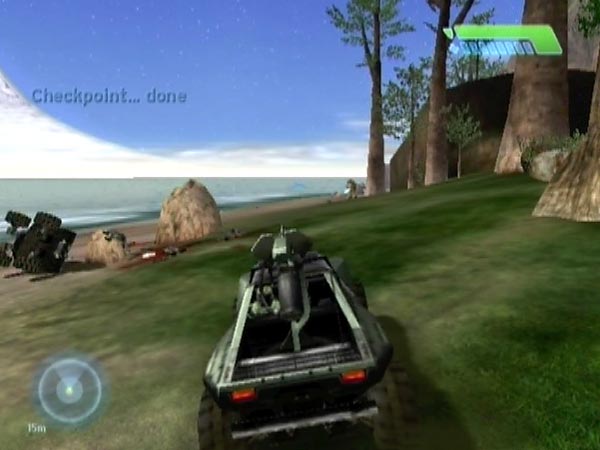
In terms of eventual position outdoors, the Elite will need to be somewhere near a release line for convenient launching. There are two along the beach in the supply area with the overturned hog, and I'll focus on that area here. As for other areas, you'd need to investigate - or wait for me to give more information later when I get it.
There's some preliminary work to do before the business of getting the Elite to the launch area. Namely, assemble the weapons you'll want: the rocket launcher and some full needlers. Of course, you'll need to use the security substation before you can get the launcher. Just put the weapons in the general area for now. How many needlers should you get? For a first set-up or casual play, just two or three would be fine - or even just one - but by all means get more if you want; see my talk about clip tolerance in connection with that.
Preferably leave a plasma pistol Grunt (or Jackal) alive from the covie group near the overturned hog (the path entrance guards). You'll see why later.
Get the Elite outdoors, ready for positioning
At the main facility, place a Warthog inside at the top of the steep ramp, ready for boarding so you can drive it out. This is mostly a safety measure for reducing the likelihood of getting killed by the Elite who'll be chasing you (though on Easy that's less of a concern). Then head down and use the Silent Cartographer.
When you get back up to the top room and kill the occupants, there's a handy checkpoint, and the Elite will be just around a few corners. By this time you should ideally have four plasmas, for the later firework fun. But if you're short, top up later.
Run past the Elite (he'll be busy growling), board the hog and drive out. He'll give chase but you may need to briefly drive back to show yourself if he's lost track of you. Lead him toward the big arch along the beach to the left, but then accelerate clear to get and save the arch checkpoint on the far side.
Get him positioned and oriented
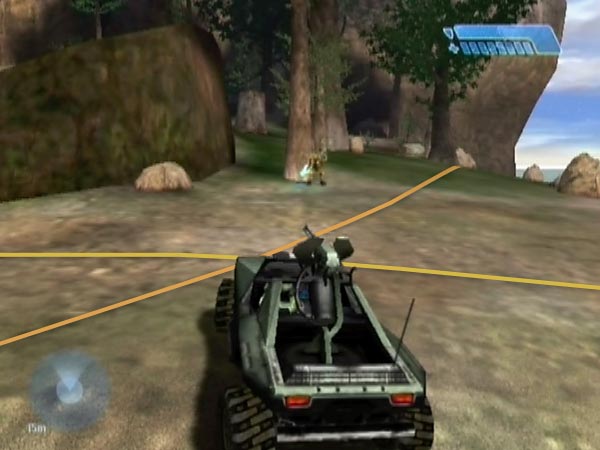
From there you can make tries at getting him into a good position. The basic method is to lead him along then accelerate into the distance, causing him to stop chasing after a while. It's a bit random though, because you can't be sure when he'll stop chasing. To check where he ended up, swing back but stay distant enough that he won't start chasing you again. This means driving quite a way out into the sea and arcing around.
If you don't like the look of his position, you could either try to adjust it, or revert to the saved checkpoint for a fresh try. Adjustment can be done by firing at him from distance to make him side-step, though it's random whether he'll shift left or right. A series of side-steps in the desired direction, potentially consolidated with checkpoints along the way, can gradually get him shifted to where you want. One other adjustment idea is to drive at him to make him dive in a particular direction, but unfortunately it also tends to make him start chasing you again, which is no good.
When happy with his position, you have the option of making him face a particular direction. Fire to get his attention, and he'll look your way but won't give chase, as long as you're sufficiently distant. Then drive directly away from him, far enough that he's lost awareness of you. Remain suitably distant as you head for the main facility, so he doesn't see you afresh - and hopefully he'll remain facing the same way.
Freeze him, test and tweak
Re-enter the main facility and go down the ramp to cross the loading point. When you get back to the Elite, he'll be frozen. Also you'll get an arch checkpoint on the way.
Check whether he's in a convenient enough position for launching - which is done by crossing a release line after he's dead. This is when you'll start getting a feel for where the release lines actually are, if you're new to this. If his position is unsatisfactory, you'll have to start over from the saved checkpoint.
If his position is ok though, there are various preparations to make. For starters you may want to pre-weaken the Elite (I'd recommend it) and ditch any frag grenades. Shift spare needlers into what you think will be a handy place. Be sure they're outside blast distance (you don't want them getting blown away when rocketing), and that you can access them without crossing a release line. You may also want to have a needler-swapping intermediary available; see later for details. To be sure your weapon arrangement is good, get a new checkpoint (at either end of the beach) and test. You can tweak and consolidate until satisfied.
Finish off
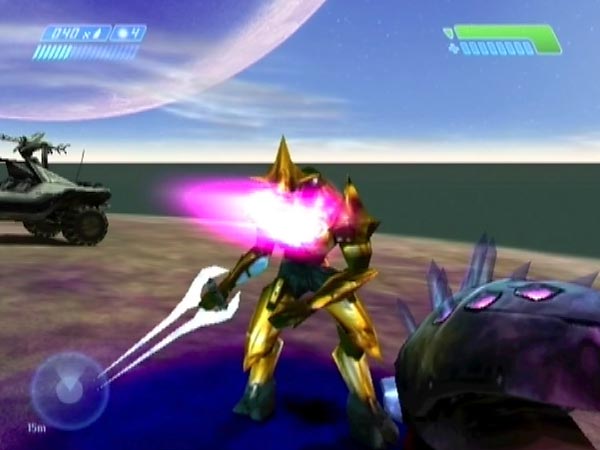
In regard to final provisions, be carrying a needler plus the rocket launcher, and have four plasma grenades. Also have full health, just in case you get too close to an explosion when having fun. An overshield is worth having for added protection.
The mellow music which starts when you emerge from the main facility lasts about six and a half minutes. If it's still going and you don't want it for your forthcoming fun, just wait until it's over.
The final thing is to get and save a handy checkpoint, ideally standing close to the Elite, ready to needle. Remember when I suggested leaving a Grunt alive from the nearby path entrance group? Killing him will trigger a checkpoint for wiping out his group, but it's fully delayable (unlike the repeatable checkpoints along the beach), so you can keep it delayed by jumping until in position near the Elite.
Set-up details and variations
Here's some further talk on set-up work, including variations on what I described earlier.
Pre-weakening
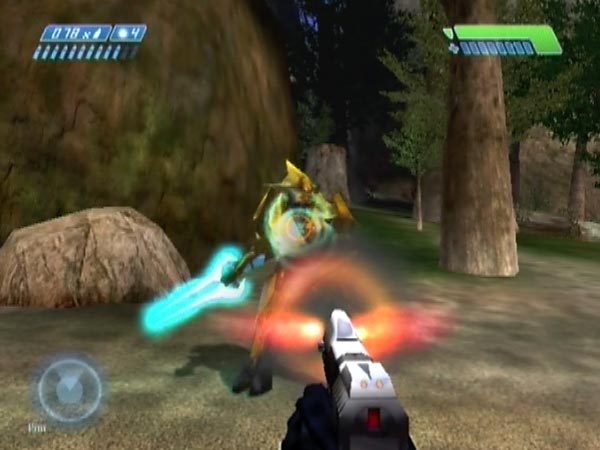
If the frozen Elite suffers a blast via rocket or needles or grenade but is still alive, you'll get a weird 'anti-aim effect' which diverts your aim away from him (in the direction the blast was blowing him), until he's finally dead. It can be quite strong and bothersome. To avoid ever getting it, I recommend pre-weakening him (i.e. before getting your final checkpoint) so that a first blast will always be fatal; even if he's only just inside the blast radius.
An additional reason for doing this is to maximize the chance of getting a scream when he's released, because you only get a scream if he dies from a blast. Cries for a non-explosive death are much less satisfying.
You can figure out how much damage you need to do by testing. On Easy though, I can tell you that 8 pistol rounds or 4 whacks is all you need. More generally, what you could do is check how many pistol rounds it takes to kill him, then deliver one less, so he's on the verge of death.
Needler-swapping intermediary
After running dry of needles, there are two ways of continuing to needle. The easiest is to walk over one of your spare full needlers to pick up ammo, but in that case you'll only get four clips, and one clip will be lost, vanishing with the needler. That may not matter to you. But if you want to avoid losing needles, first swap your empty needler for some other weapon - a 'needler-swapping intermediary' kept handy - then swap that for a fresh needler. Moreover, do that second swap so the intermediary lands away from your spare needlers. It needs to be kept separate so you can always pick it up without going near your needlers.
Fewer needlers; relying on drop reloading
Instead of collecting multiple needlers (in the event that you're interested in putting a lot of needles into your Elite), you can potentially make do with just one, by relying on drop reloading to generate ammo. It's a bit fiddly in practice though, so you may prefer to mostly rely on having spare needlers. I'd recommend having one spare at least; and you could leave drop reloading for when you want to get really extreme.
Clip tolerance
How many clips of needles can you reliably fire into your frozen Elite before the game gets too overloaded and he blinks out of existence? The clip tolerance (as I call it) will partly depend on the number of personnel around the island, in the current loading zone. If you left loads of covies alive, it could be around 14, in which case there wouldn't be any point having more than three full needlers. If you instead made a point of killing all extraneous personnel, including Marines, a clip tolerance of at least 40 is possible. I'm not sure exactly how high it goes.
Incidentally, if you keep needling, eventually the sea goes blank (e.g. it happened on my 23rd clip). If the Elite still has his sword (namely if he died non-explosively), you can also observe the plasma effect on the Elite's sword vanishing, and then the sword itself! Overloading causes other effects to be lost too.
Ditching frag grenades
Before finishing your save, you might like to get rid of any frag grenades you have. Then you won't be in danger of accidentally throwing one, thinking you're about to tag the Elite - an easy mistake to make. Of course, frag grenades could be used to provide some launch boost. But that's not much of a reason to have them, because rockets are likely to provide all the boost you want.
Final checkpoint
I mentioned leaving a Grunt alive from the nearby group, for use in getting a final checkpoint. But you could potentially use a covie from a different group, if there's likewise a checkpoint triggered for the group's elimination. One such group is the group of Jackals just around the corner from the landing zone, and another is the group of Grunts and Elites a bit further along.
An alternative to killing a covie for a final checkpoint is to use one of the repeatable checkpoints around the island. When getting it you can be in a Warthog, speeding towards the Elite. So although it won't be as ideal, at least it'll only take a few seconds to arrive.
Note: If you leave masses of covies alive when doing your set-up work, it seems that when you return from using the cartographer, the game may've removed some which it normally wouldn't have. That could affect your ability to get a handy final checkpoint by killing a covie, because his whole group may've vanished! So you'd better do a reasonable amount of killing along the way.
Reserve checkpoint options
Even if you make a point of eliminating most extraneous personnel around the island during your set-up work, it can be worth leaving one or two extra checkpoint-triggering covies alive. That way, you'll still have the option of modifying your save and getting a fresh handy checkpoint. One use would be if you become interested in doing some pre-blasting for rapid repeat launching.
Hovering dropship
After using the security substation, there's a covie dropship plus Jackals, back along the route you came. I suggest you revisit that area to make the dropship leave, otherwise you may hear it continually humming from your launch area (might bug you). Also, its presence would probably reduce the clip tolerance.
Flying sword
If the Elite is killed explosively or by splattering with a Warthog, his sword will disintegrate immediately. Otherwise it persists for the time being, and only disintegrates after he's released. In that case, when the sword leaves his hand, which on PAL Xbox occurs after about 0.9 to 1.7 seconds (it's random), detonations on the Elite can cause the sword to be blasted clear of him. As such, you can potentially see it flying through the air and disintegrating.
It's a novel sight but only brief. Once he lets go, the sword is intact for only around 0.2 to 0.3 seconds, then the disintegration lasts for about 0.6 seconds. So the total 'flying sword' display will probably last less than a second.
To try and get a suitably timed detonation, use a certain amount of needles to run down the fuse of one or more plasmas you've tagged him with. On PAL Xbox I find about 40 needles a good bet. Success is random though, in view of the randomized delay until the sword is let go.