Pyramid descent fight
Posted March 15th 2025
Associated movies
Introduction
After handling the few troops who spawn on the other side of the outer door near the start, there are multiple covie groups to tackle as you head down the pyramid structure and potentially out onto the snow. I'll refer to that overall struggle as the pyramid descent fight, and in a moment I'll go into a breakdown of the enemy forces involved, and certain structural aspects.
But the key part of the article, and the impetus for writing it, lies in describing a way of setting up for this fight in a special way, allowing a wider range of combat experiences than available in normal play, and also having some other benefits. It's namely done by exploiting the anti-spawn door trick, enabling you to customize the forthcoming encounter to some extent.
Before I get to that engineering work however, first let's do the breakdown I spoke of, so we've got the basic situation clear.
Breakdown of the encounter
The covies involved comprise five groups, which I'll list in order of how you'd meet them when taking the standard route down via the snaking path:
- The forecourt group on the large open 'forecourt' just down the slope from the door.
- Path group 1 near the start of the long path.
- Path group 2 after the first tunnel.
- Path group 3 after the second tunnel.
- The snow group on or near the snow.
The snow group is much the largest, numbering between 10 and 12 covies depending on difficulty level, and includes an Elite who clambers into his Wraith, as well as a gold Elite with a short temper, who goes into rage mode once you get close enough.
All the Elites you meet will have plasma rifles. Some Grunts will have needlers. Specifically, those on the forecourt and in path group 3, as well as one or two on the snow.
On Heroic you get 25 covies in all (including the Wraith pilot), comprising 10 Elites, 7 Jackals and 8 Grunts. Legendary gives you 2 extra Elites, making a total of 27, while Normal and Easy give you 3 extra Jackals and 3 extra Grunts, making a generous 31 covies in all.
Triggers and checkpoints
Let me say a little on triggers and checkpoints, as they'd unfold in a standard play.
A short way past the outer door you trigger the generator prompt "Destroy Pulse Generator #1", plus some Cortana dialogue lasting almost a minute. In addition, lots of covies spawn: everyone except the snow troops.
There's a checkpoint triggered just beyond where you trigger the generator prompt, and two more checkpoints are triggered during the descent, the last coming as you near the final flat part of the pyramid structure. I'll refer to these three as the pyramid checkpoints.
When you get sufficiently low down (by which time the third pyramid checkpoint will have already been triggered), the snow group spawns. In addition, any remnants of the forecourt group and path group 1 vanish, and any remnants of path group 3 are triggered to retreat down the slope. Music starts, and lasts until either it ends naturally after about six minutes or when the Wraith pilot is killed, whichever comes first.
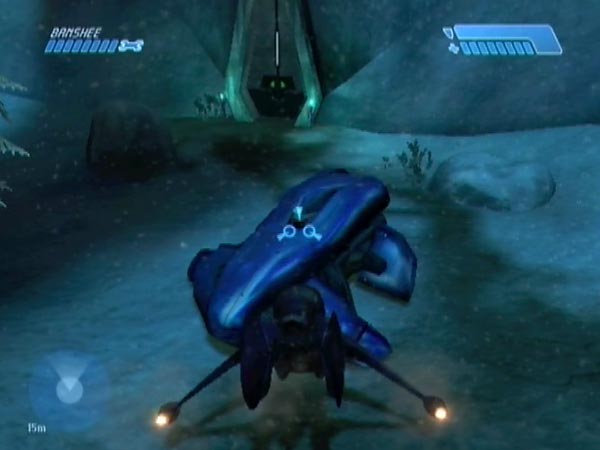
There's a checkpoint associated with the Banshee, and in normal play it's triggered by boarding. But like the checkpoints that came earlier, it's subject to being delayed by enemy threat or other checkpoint delaying conditions; so you won't necessarily get it immediately. Only when all delaying conditions end. When the trigger occurs, you also hear "Good, let's get moving" from Cortana, and if you're on Normal or Easy, there's a pause to show some Banshee flying tips. But incidentally, if you're mashing the A button in anticipation, you can almost eliminate that pause; there's just a momentary flash of the info.
Custom set-ups
By using the anti-spawn door trick, it's possible to make special arrangements for the descent fight, to shape how things play. Not only does this engineering allow novel combat experiences, there are other benefits too. Here's the set-up plan.
The main work
After eliminating the early covies and Sentinels, do the anti-spawn door trick and wipe out the few covies that were already behind the door (an Elite and a Jackal, unless you're on Legendary). With no more covies to bother you, you're now free to do various things to shape the fighting and give you options. Here are the key things.
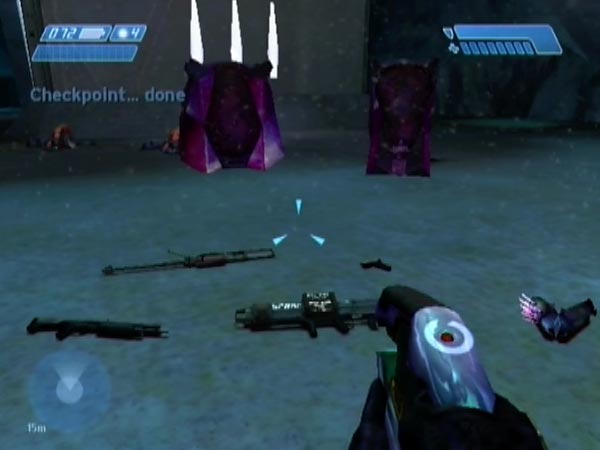
(1) You'll eventually finish the set-up with a checkpoint near the door, so you might like to build a collection of weapons there, giving you options at the start of a fight. Weapons can be harvested from dead covies, plus you've got the UNSC supplies, which also allow you to top up your shotty of course (and your frags, if you've used any).
(2) You can put weapons in strategic places for potential pick-up in battle, or in the case of needlers, as ammo sources. One idea there: put some needlers along the way, to help you execute needle-heavy descents. Another idea: put the sniper rifle close to the bottom of the pyramid, for potential use against the snow troops. Warning: there's some danger in moving a weapon through a tunnel, as it might go through the floor and end up inaccessible.
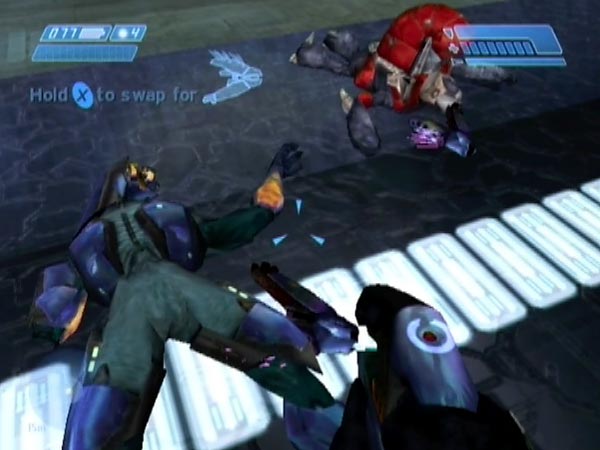
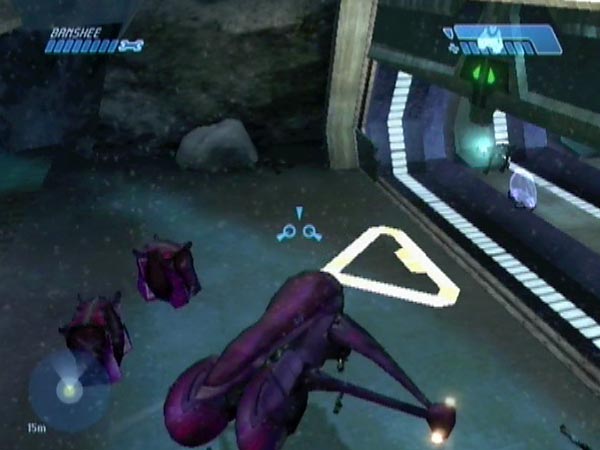
(3) You can move or disable the Wraith, to shape how the fighting on the snow goes. It can be moved by pushing it with the Banshee (tip: you can push it along faster if it's upside down). Once manned, it may not stay there of course; it may return to its usual haunt. But if moved to the opposite side of the battlefield, it can certainly stay in that vicinity, depending on where exactly you put it.
If you instead destroy or overturn it (ram it from behind), the pilot will still spawn, but will have to fight on foot.
(4) You can move the Banshee to where you'd like it. One idea: have it in a handy place near the bottom of the pyramid, so you can board it without having to run a gauntlet. Another idea: have it at the top, so you have the option of using it all the way down - or of dropping yourself off at certain novel places.
As well as doing any of that, make sure to've triggered the last of the pyramid checkpoints. This will certainly happen if you go as far as the lowest flat part of the pyramid; and most likely you'd be doing that during your other work. One other thing: if you need to use a medkit, I suggest using the one in the tower, so the other remains available in battle.
Finishing off
Now to finish off. Back at the control panel for the outer door, use it again to resume normal play. This spawns a few Grunts with plasma pistols, and also triggers a checkpoint, which you need to keep delayed for now (use jumping when not under enemy threat). Kill the Grunts, but take care that no plasma grenade wrecks your weapon collection if you have one. If the Grunts advance on you (sometimes they're instead oddly static), I recommend backing off up the passage until they're well past your collection.
When the Grunts are dead, and not before, advance far enough to trigger the generator prompt and some extensive Cortana dialogue. This also spawns covies beyond, as mentioned in the previous section. But as long as you don't do anything to catch their attention, they won't come up to attack. Once Cortana has started her fourth and last bit of talking, namely "I'm marking the location of the nearest pulse generator with a nav-point. We need to move in and neutralize the device", get the checkpoint at last, and save it to finish.
The point of the final wait was just so you won't have to listen to Cortana going through a load of dialogue every time you start a fight. She's got it all out of her system. A significant benefit, as far as I'm concerned.
A checkpoint aspect, when playing the set-up
In the set-up work, all the pyramid checkpoints got triggered. Thanks to that, if you fight on foot, no checkpoint will be triggered along the way, and consequently you'll be able to simply revert for a new descent fight. You won't have to eject the disc and reload. Nice!
Things may not be quite so convenient if your play involves Banshee use however. Earlier I mentioned that there's a checkpoint associated with the Banshee. Well, the snow group needs to've spawned, but once that's happened, you'll trigger the Banshee checkpoint as soon as you're in it - which might be already! Of course, it might get delayed by enemy threat. But still, if that threat goes away you may get the checkpoint, which would later prevent you being able to revert to start afresh.
Extra set-up advice
For really keen folk, here's some extra advice on aspects of the set-up work.
Drop reloading needlers
In regard to provisioning yourself with needlers for battle, it's worth initially drop reloading them to get some extra needles for free. Some of the needlers may even end up full!
Stabilizing weapons
It's worth checking your spare weapons for stability, and stabilizing those that need it. Otherwise you might end up losing some before your set-up work is complete. There's a definite issue with that in this scenario.
Battle talk
Here are some comments or thoughts on the actual fighting. Some of this is specific to custom set-ups (certainly my main interest here), but much of it applies also to normal play, i.e. with no modifications done.
When fighting on foot, there are lots of ways to descend, with various shortcuts if you care to use them. And of course, in a Banshee you can simply roam free. However, remember that any remnants of the forecourt group and path group 1 will vanish when the snow group spawns. So if you want to kill all covies (which is my basic approach), you need to be sure to wipe out those groups before you trigger the snow group.
There's excellent fun to be had by doing your slaughtering with the Banshee, but I'd particularly recommend using Normal (or even Easy?) for this, because it lets you be more gung-ho than you can afford to be on Heroic. Also, as a bonus you've also got an extra six Jackals or Grunts to slay! Heroic is still okay (see the second play in BCM557), but you need to be more standoffish or your machine is going to smoke up rather fast.
The sniper rifle unfortunately has a very meagre ammo supply, something that always frustrated me in this part of the level. However, you could make use of drop reloading to be able to do a lot more sniping with it. There'll need to be another weapon on hand to be able to do it though. That could be one you positioned specially in the set-up work, planning ahead.
At the bottom of the pyramid, a lot of covies may be attacking you on the side you're on, and you might feel quite pressured. But you can always go through the tunnel to the other side, and perhaps ambush the aforementioned covies when they arrive. Most of the snow troops seem able to freely move between sides.
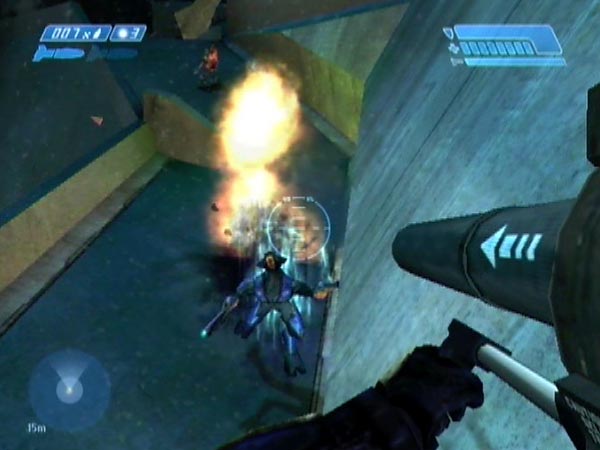
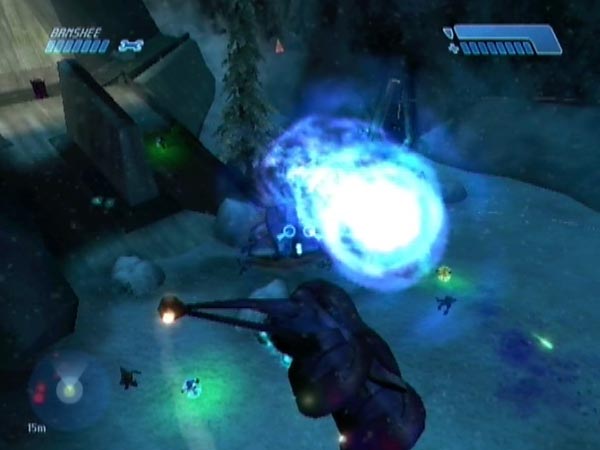
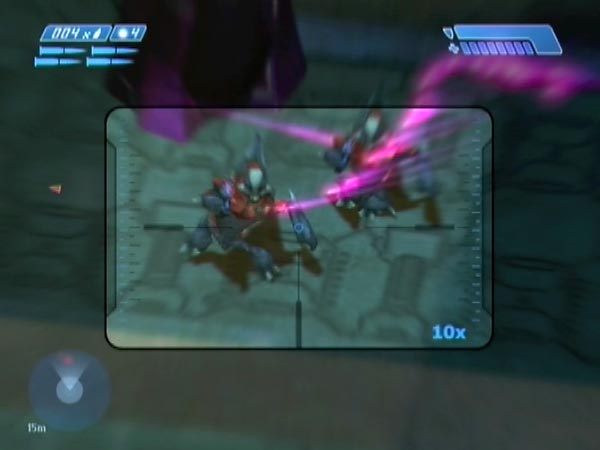
With the Banshee, you can potentially drop yourself off on a perch of some sort, to attack from somewhere novel, such as the long 'spine' down the middle (see BCM559), a ledge, or the bridge. Could be good for some sniping perhaps, or some long-range rocketing. Or even some needling! From the bridge, the needler has enough range to get the path group 3 guys for example, and you can enjoy watching the results with a sniper rifle (see pic). Reminds me of the needling in BCM206. Really this sort of thing is more like mischief than a 'fight', but it's fun!
If you've got the Banshee handy at the bottom of the pyramid, you could use it to transport yourself deep into the battlefield, to attack the snow group from the other side for a change, on foot.
Earlier I mentioned that when the snow group spawns, any remnants of path group 3 are triggered to retreat down the slope. However, it's not uncommon for a Jackal or Elite to get caught up in the scenery before reaching the slope. As such, you might find one that way if you go looking. The guys who do come down the slope seem to quite like the entrance to the bottom tunnel, so you may see some there at some point. In BCM558 there's an example where four of them are there, and I send in a long-range rocket.