Pyramid megabattle
Posted March 25th 2025, updated later
Associated movies
- BCM561 - Heroic; Set-up & play (6:23)
- BCM562 - Normal; Battle x2 with tailored new set-up (6:53)
- BCM563 - Normal; Another two plays (6:47)
- BCM564 - Normal; Another two plays (7:27)
- BCM565 - Normal; Another two plays (6:42)
- BCM566 - Normal; Another two plays (6:43)
- BCM568 - Normal; Battle x2 with new set-up (7:36)
- BCM569 - Normal; Another two plays (6:50)
- BCM570 - Normal; Another two plays (6:39)
- BCM571 - Normal; Another two plays (6:56)
- Introduction
- Setting up quick in standard play
- Setting up using the anti-spawn door trick
- Further set-up options
- Extra set-up advice
- Enemy numbers
- Battle talk
Introduction
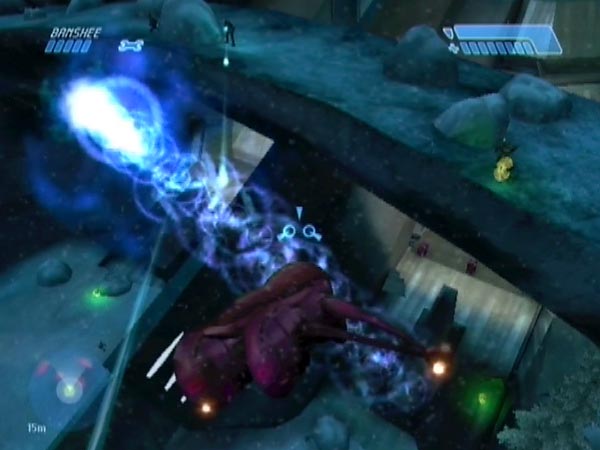
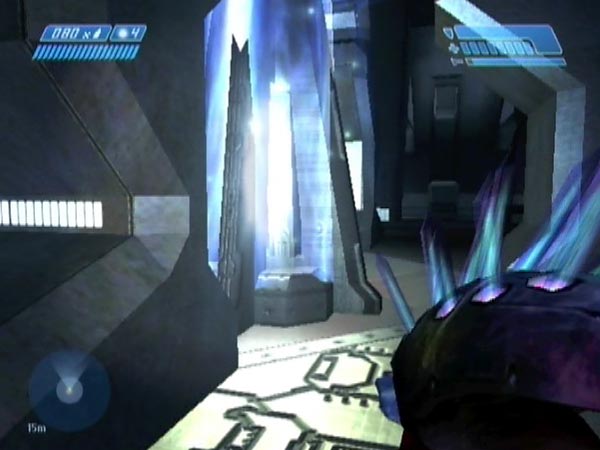
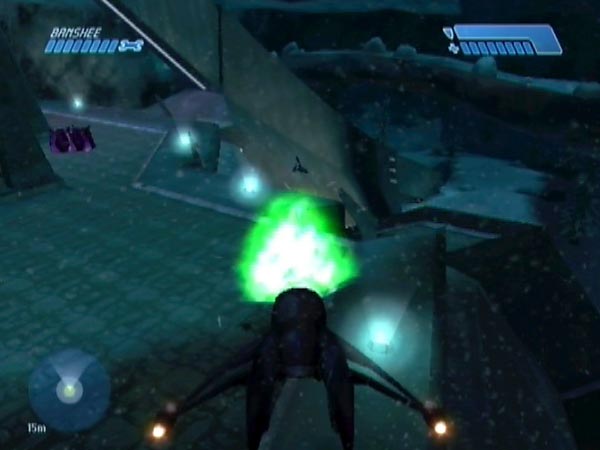
The 'pyramid megabattle' takes place in the vicinity of the pyramid structure, not long after the start of the level. It features multiple covie groups and basically provides you a big shooting jamboree to enjoy. With 27 covies on Normal and 24 on Heroic, it's relatively modest in terms of enemy numbers, but it has its own unique character, offering both superb ground action and glorious Banshee flying. It's also the only megabattle where you have a shotgun available!
The largest of the covie groups is the snow group, which spawns down on or near the snow and includes a Wraith (unless you care to disable it). But you also have two earlier groups plus a later group. The earlier groups spawned on the path that snakes down the pyramid. In the terminology of my pyramid descent fight article (see the breakdown section, which contains useful background information to know), they're namely 'path group 2' and 'path group 3'. The latter group actually gets triggered to head down towards the snow, and as such, they potentially join the snow troops. The one other covie group in the mix is the bridge group up high, which includes a couple of devilish fuel rod Grunts.
Initially I used the name 'pyramid base battle' for this affair, and you'll see that nomenclature in my opening movie, BCM561. But partly due to some further playing, in which I created a better provisioned new save which made me realize how glorious the ground combat can be (let alone the Banshee work), I decided that what we've got here really merits being classified as a megabattle. So I quickly decided to rename it as such (making it now the eighth megabattle), and to revise the article accordingly.
Contrasting with the pyramid descent fight
Prior to this article, I'd covered the aforementioned pyramid descent fight, in which the anti-spawn door trick can be used to engineer a customized battle experience in tackling the covies down the pyramid and out on the snow. As that scenario features some of the same covies as the megabattle does, most notably the snow troops, there's certainly some potential commonality in regard to the combat you can get. However, the descent fight is fundamentally a progressive affair and the covies aren't even all present at the start (the snow troops have yet to spawn), whereas the megabattle is more like a big set-piece focused around the lower area plus the bridge, and the covies involved are all present at the start.
There are some other differences too, which the megabattle benefits from. Among them is this very welcome aspect: the Banshee-associated checkpoint will already have been triggered in the set-up work, and therefore won't occur during or after the fighting. As such, you'll always be able to just revert to start a fresh round of hostilities. Also, on Normal and Easy, you'll never be subjected to the annoying action-freezing Banshee information panel associated with triggering that checkpoint.
Difficulty levels
Just to mention, I'd suggest using Normal for this megabattle, at least to begin with. Owing to the enemy numbers, things will feel harder than Normal usually does, believe me. At times it can be reminiscent of Legendary, especially when the gold Elite comes calling!
Heroic is certainly viable, and actually it was used in my opening movie (because I was adapting the pyramid descent fight save I'd recently been using). But you generally have to be more standoffish so the weight of enemy fire doesn't quickly overwhelm you. That's especially true for Banshee play. Your machine will smoke up a lot faster on Heroic, and that means less fun.
Setting up quick in standard play
The serious way to set up a pyramid megabattle involves using the anti-spawn door trick so you can do some engineering work, adding weapons here and there for potential use in battle, and maybe moving or disabling the Wraith. Things that shape the battle potential. However, if you just want a quick no-frills set-up to get a taste of things, you can do it just with standard play as follows.
Without harming any covies who can take part in the battle, and without losing health, get to the Banshee. On Normal this is pretty easy, and on Heroic it's not too hard either. One way is to just skirt down the right (a route seen in BCM548), but if you want the rocket launcher you can instead skirt down the left to get it, after which I suggest you go through the tunnel to avoid an encounter with the very irritable gold Elite.
Fly up to the platform and kill the covies. Destroy the generator then without losing health along the way, get back to the outer door.
An exit checkpoint is triggered at the doorway, and this can serve as your battle start checkpoint, but you can delay it until in a more convenient spot, such as when you're airborne and a bit lower down (although, be careful not to get so near to covies that enemy threat continues the checkpoint delay). Incidentally, there was a fresh Banshee if you wanted it.
Setting up with the anti-spawn door trick
To set things up in a superior way, you need to use the anti-spawn door trick so you can do some engineering work to shape the battle potential. As well as possibly moving or disabling the Wraith, you can position spare weapons at suitable locations (perhaps according to specific attack plans you have in mind), and you could have a collection of weapons to choose from at a planned battle start location (one such collection being seen at the start of BCM562). This is just like in creating a custom pyramid descent fight set-up, so see that article for some ideas and advice. But you'll need to have the Banshee with you at the end.
Having done all that and basically got to the finishing point for a pyramid descent fight set-up, here's how to now progress from that to get your megabattle set-up. You can see a demo of this at the start of BCM561.
Fly to the battlefield and get low enough to trigger the snow group, then head up to the platform and kill the covies there. Ambushing them with Banshee fire is a good option.
You might like to send your Banshee down to the ground for potential use in battle later, bearing in mind that a fresh one will be appearing on the platform for you shortly. You could either blast it down with a grenade (you can likely get a replacement plasma from the platform covies), or give it a shot of speed before safely bailing onto the platform.
Destroy the generator, then without losing health along the way, get back to the outer door.
Before going through the doorway, you might like to pause to let Cortana start saying "The second pulse generator is located in the adjacent canyon. Move out, and I'll mark the target with a nav-point when we get closer." The pause is just to get done with that dialogue (you don't need to wait for her to finish), so you won't hear it every time you battle. You don't have to pause here though; just make sure she's started that dialogue by the time you get your final checkpoint.
As for that, go through the doorway. An exit checkpoint is triggered, which you can keep delayed until you want it; e.g. when you're airborne and a bit lower down (as seen in BCM561), or perhaps when you're down on the ground and near a collection of weapons to choose from (you can see that type of set-up in BCM562 and beyond). When you get the checkpoint, you're done!
Note: there was another bit of Cortana dialogue that got finished with during the procedure, namely a belated "Wait. We should commandeer one of those Banshees; we'll need it to reach the pulse generator in time." Sometimes it occurs on your way to the generator, other times on your way back out.
Checkpointing if the Wraith is firing
If you find yourself in a situation where you're wanting to end the checkpoint delay but you can't because the Wraith is firing shot after shot, the thing to do is get out of its sight; e.g. by climbing to around the height of the second ledge or by settling on the platform. After a while it should stop, and then you'll be able to checkpoint. The same remedy applies to fuel rod Grunts firing shot after shot, another potential trouble.
Further set-up options
Here are some options you might like to include in your set-up work, however you're doing it.
Additional weapon sources
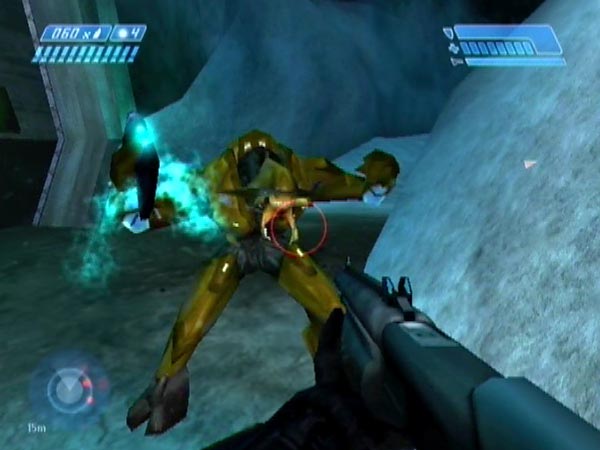
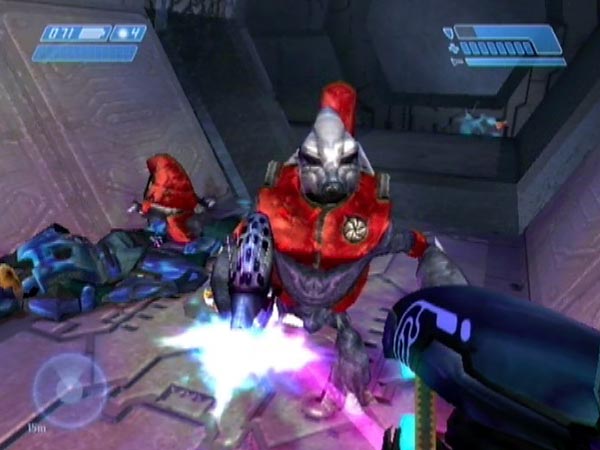
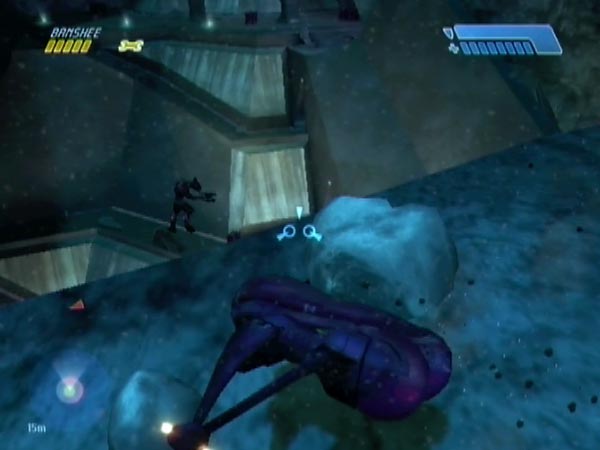
Via the anti-spawn door trick you have scope for arranging spare weapons prior to the outside area becoming populated of course. But there's also the possibility of adding some other weapons later if desired. Namely, weapons from (a) the covie groups due to vanish when the snow group spawns (the forecourt group and path group 1) and (b) from the platform covies (see pic). Such weapons can be blasted onto the battlefield, or in the case of the platform, perhaps thrown down. It'll be a bit haphazard as to where they land, but some might end up in handy spots. And actually there's some possibility of adjusting positions if you care to put in the work (although it could be hazardous due to the Wraith and also the fuel rod Grunts on the bridge).
In making this suggestion I'm especially thinking of the needlers used by the forecourt Grunts and platform Grunts. As far as I'm concerned, the more needlers there are on the battlefield, the better!
Of course, you could also arm yourself from some of these covies. For example, needlers available on the forecourt or on the platform could give you a full needler, in exchange for some less desirable weapon you were carrying with this swap in mind.
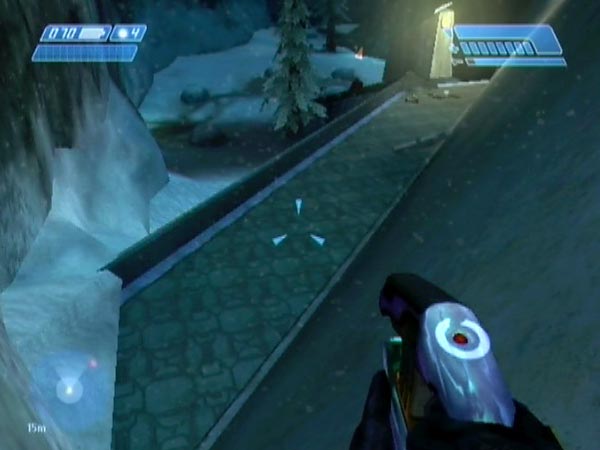
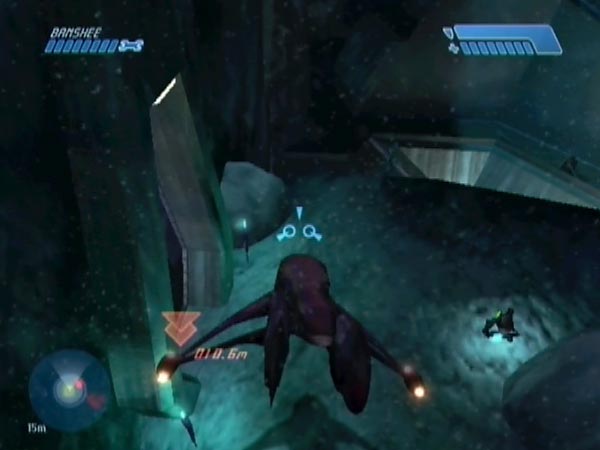
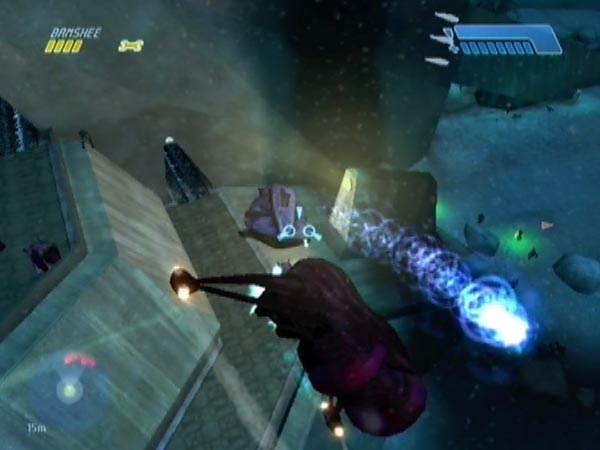
Eliminating the nav-point
If, prior to checkpointing, you want to be rid of the nav-point indicating the way to the next canyon, you can do that (it also eliminates a bit of Cortana dialogue). Keeping your checkpoint delayed, fly past the door low down and very close (see pic), then get clear. But to avoid Banshee damage from the Elites, draw them away from the door beforehand.
Eliminating the music
If you want your set-up to be music-free, it's just a matter of doing some waiting, bearing in mind that the music is limited to just over six minutes. I suggest doing it prior to triggering your checkpoint. Go have a cup of tea or something. (Reminder: the other way the music can end is via the death of the Wraith pilot.)
Spare weapons on the bridge
Let me mention, it's possible to get spare weapons onto the bridge by blasting them across from the pyramid structure. I found a good place for doing that. There's some ramp-like surfacing just past the forecourt, below the spine. Putting a weapon there, I was able to launch it across with a Banshee blast. However, it's liable to take multiple tries, so you should get a handy delayed checkpoint first.
Extra set-up advice
For anyone really getting into this stuff, here's some extra advice on aspects of the set-up work. These sections are ordered pretty much chronologically.
Drop reloading needlers
In regard to provisioning yourself with needlers for battle, it's worth initially drop reloading them to get some extra needles for free. Some of the needlers may even end up full!
Moving weapons down to the snow
Having harvested multiple weapons from early covies, and wanting to position them out on the snow, here's an option for doing it relatively fast. Use the Banshee to blast them down from the forecourt.
Specifically, what I've been doing is grouping my spares into a small number of piles near the front right of the forecourt, prior to getting the Banshee. Then after getting the Banshee and bringing back a delayed checpoint (the final path checkpoint), I'll blast the piles towards the spine wall so they bounce off and down to the snow or thereabouts, hopefully without any going into the pit. I then fly down and check that I can locate them all. If not, the checkpoint allows me to just try again.
Stabilizing weapons
In regard to weapon provision, it's worth checking your spare weapons for stability, and stabilizing those that need it. Otherwise you might end up losing some before your set-up work is complete. There's a definite issue with that, which caused me to start taking this preventative action as a matter of routine.
Triggering the snow group
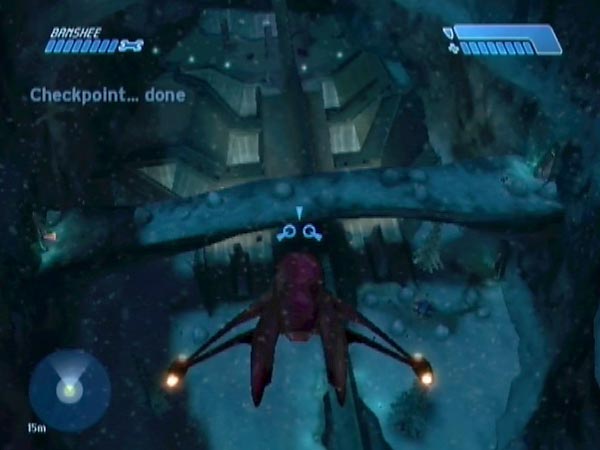
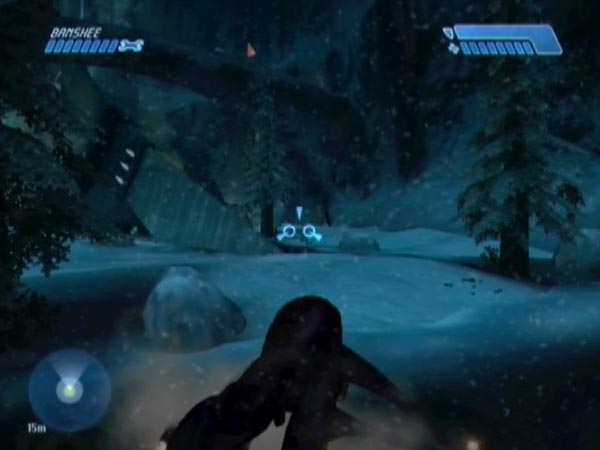
In regard to the part where you get low enough to trigger the snow group, it may be best to do this at a remote spot at the back of the battlefield (see pic), to avoid alerting any covies and to also be able to get the Banshee-associated checkpoint and save it.
From that checkpoint you can then make tries at efficiently killing the platform covies with minimal or zero Banshee damage. Or more generally, tries at finishing off well (which could also mean finishing fast, something discussed below). I've found this useful in producing my set-ups.
Finishing off fast
Once you trigger the snow group, the natural duration of the music is just over six minutes. Battles can last quite long (depending a lot on how you play them of course), and if you're keen for the music to typically last all the way through when leaving Wraith destruction until the end, it's thus in your interest to complete your set-up swiftly, to maximize the amount of music time left. That duration will be a fixed characteristic of your save.
With the save seen in BCM562 for example, the duration was just under four minutes as measured to the final cymbal crash (after which there's a slow fade-out). Not too bad, though I've certainly had times where despite battling at a decent pace, the music finished before I blew the Wraith, which robbed me of having that satisfying linkage. With that set-up though, I'd taken the time to throw down spare weapons from the platform. If you don't bother with that, you can finish off faster of course. With the save used in BCM568, I'd settled for only throwing down one weapon (a quickly drop reloaded needler), resulting in four and a half minutes of music time. Much more satisfactory I have to say.
Enemy numbers
On Normal and Easy the enemy breakdown is as follows:
- Path group 2: 2 Elites + 2 Jackals = 4
- Path group 3: 2 Elites + 1 Jackal + 2 Grunts = 5
- Snow group: 4 Elites (including the Wraith pilot) + 4 Jackals + 4 Grunts = 12
- Bridge group: 2 Elites + 1 Jackal + 3 Grunts = 6
- Total: 10 Elites + 8 Jackals + 9 Grunts = 27
Two of the bridge Grunts have fuel rod guns however, so they're not just any old grunty jokers!
On Heroic there's one less Jackal in path group 2, and one less Jackal and Grunt in the snow group, making a reduced total of 24. As for Legendary if you're crazy enough to try that, the counts are as for Heroic except that you get an extra Elite in the snow group, and two extra fuel rod Grunts on the bridge (yikes!), making a total of 27.
Battle talk
Here's an assortment of remarks relating to the battling.
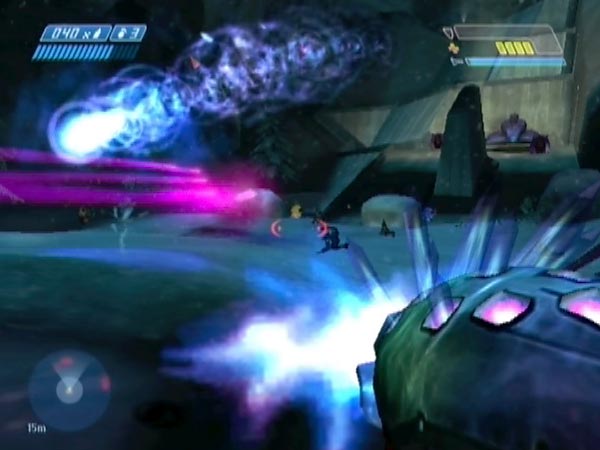
The battle is great for Banshee use and it's huge fun to swoop around laying waste to the covies. As for fighting on foot, that's where the provision of spare weapons can make a big difference in your save's battle potential. All weapon types are available except the AR.
This is actually the only megabattle in which the shotgun is available, so be sure to make the most of it! I must say, the shotty has become quite a favourite for me here, and makes a great combination with the needler.
On Normal, battles typically last three to four minutes if you're trying to keep a good pace. But they can go much longer if you get into leisurely long-range mischief for example (although such playing does make things feel a lot less battle-like).
You have various options for Wraith positioning, but for a first set-up let me recommend creating something like the one seen in BCM562, with the Wraith moved up onto the pyramid structure, to the left of the tunnel as seen from the snow. That Wraith position turned out to be excellent, and my sequence of five movies demonstrates a variety of attack plans to enjoy. But sticking it on the opposite side is good too, as featured in BCM568 and beyond.
Incidentally, the Wraith doesn't seem to see the big divider walls on the ramps. It may fire at you regardless of such a wall being in the way, and that can lead to the Wraith damaging and even destroying itself!
In battling, you might like to leave Wraith destruction until the end, so it causes the music (if you've got any) to climax and finish. That does make for a rather satisfying conclusion!
It's relatively easy to make Elites dive off the bridge by flying at them (usually directly along the bridge), and surprisingly they're quite able to survive the impact below, if in good shape. However, they don't seem to have proper movement AI there. They just stand around, rather than joining any of the snow troops. Incidentally, you can also have some good sport scoring a fuel-rod hit on one as he falls. For that, ideally you want to've weakened him beforehand, so the hit kills him.
Bear in mind, you don't have to use a Banshee to get the bridge troops. One way to get them on foot would be to go up the spine to shoot at them. A sniper rifle could do very nicely there!
Fuel rod Grunts on the bridge can target you when you're down on the snow, and that can be a lethal threat. But you can get them quite easily with a pistol or sniper rifle, or with a rocket slammed into the side.
Your location can have the effect of drawing path group 3 covies back up the path to some extent, as seen in some of my movies, so watch out for that. They can be fun to attack there, e.g. leaping down from above as seen in BCM570 around 1:57.
See also my battle talk for the pyramid descent fight. Some of it can also apply here.