New toys in the first ground battle
Posted March 24th 2005, updated later
The basic idea
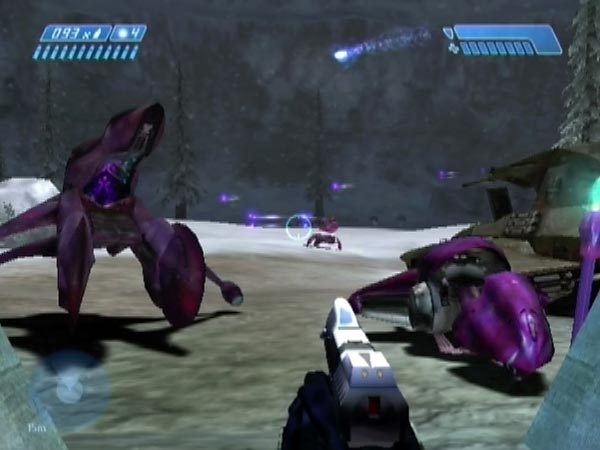
When you trigger the first ground battle, in which some Marines are getting attacked in the distance, you can potentially hop straight into a handy Scorpion or Ghost or Banshee that are all sitting there waiting. There are other novelties you can arrange here too, which I'll get into later. All you need to do is rearrange things after skipping at the first bridge. There won't yet be any enemies sdown below, and the rest of the level will likewise be deserted, but there are plenty of vehicles out there for you to bring back.
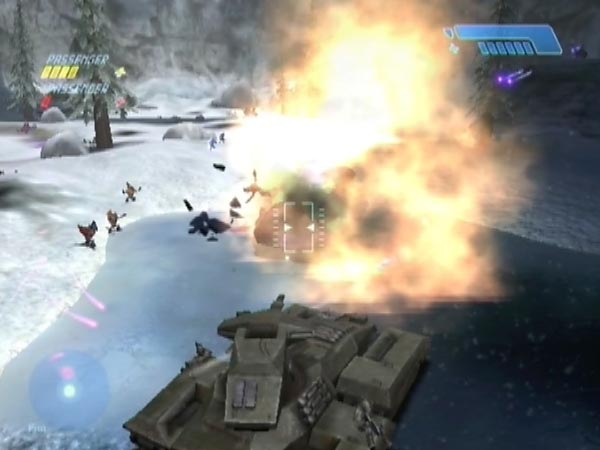
In particular you could position a Scorpion, Ghost and Banshee right by the door. Then when you trigger the battle later after resuming normal play, you can step into your vehicle of choice and have some novel fun slaying the covies.
With a Banshee you can even drop yourself up on a ledge to do some long-range attacking with the sniper rifle and rocket launcher, having grabbed them quick. The Shade plateau is another high spot you can enjoy, and another possibility is to drop yourself off on top of a boulder somewhere.
Note: you should save you battle start checkpoint, so you can replay the battle at will. Remember that there's a checkpoint triggered part way up the battlefield. It may be delayed by enemy threat for a while, but you might eventually get it, and then you won't be able to revert to the battle start. If you saved the battle start checkpoint though, you'll be able to eject the disc and reload to get back to the start.
Tips on bringing back vehicles
Here are some tips on bringing vehicles into the first battle area.
Scorpion
The Scorpion is in the crashed Pelican area, and getting it back over the step is fairly easy once you've got the knack. Drive into the snowy wall to the left of the step (see pic) so the front of the tank goes up the wall, then arc right a little so you start to attack the step. The tank gradually gets traction and the nose settles back down, at which point you can drive off. In doing this operation, don't arc right too much or too soon else the tank tends to clip into the step, preventing any further progress.
If you're finding things hard, try first placing a Ghost in the left corner of the step (which is how I originally did things). It can help the tank get up and over.
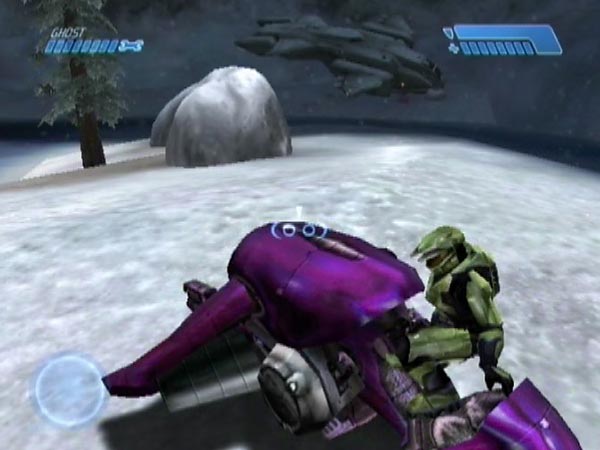
Ghosts
There's a Ghost in the crashed Pelican area, two a little further on (one along each of the two possible routes), and yet more Ghosts deeper into the level if you want them. Get back over the step by driving towards the left corner and using the A button to raise the nose up and over.
Banshees
Multiple Banshees are available for potential use in the first area. The 'twin bridges Banshee' is just sitting on the ground, albeit quite a long way away, and two others are up on perches. See Banshee access elsewhere for details. On Heroic and Legendary you've also got the possibility of grabbing the bridge Banshee.
Shade arranging
Another way you can alter the first ground battle is to move the Shade. Strangely there's only one so far; the one near the door. It seems that wherever you move it, it'll still get manned.
On the Shade plateau
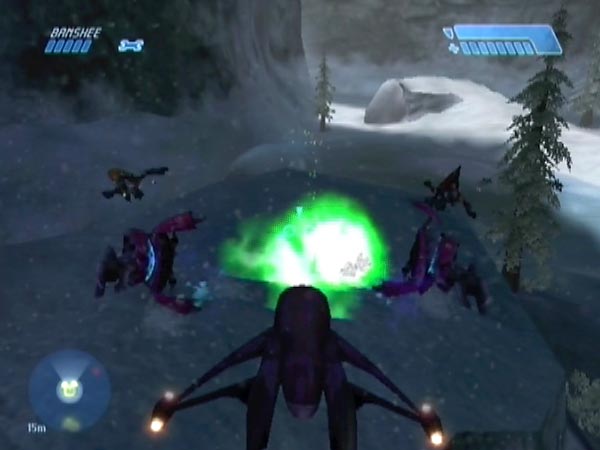
In one of my set-ups I managed to blast the Shade up onto the Shade plateau, where the other Shade will later appear. I was using the Scorpion, but another way I used later (easier I suspect; only took three tries) was to do a 'blast and ram' with a Banshee. Either way, it's good to get a delayed checkpoint before trying, so you can make attempts efficiently.
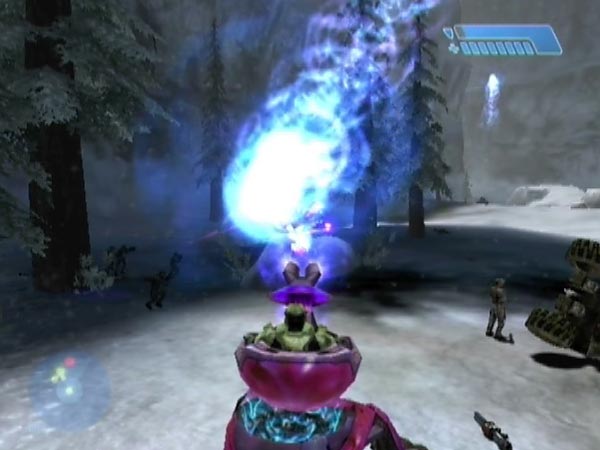
The addition gave me a battle with two manned Shades up there, and it was fun to send in a shot from the Banshee to blast them simultaneously (see pic). Other times I've moved the Shade further up the battlefield, so it plays a part in the latter phase of the battle rather than the attack on the Marines.
Personal use
You can also place extra Shades for personal use, e.g. over by the Marines for a close-knit defence (see pic). If you want more Shades you can use a Banshee or grenades to blast them down off the bridge above, or even import ones that are elsewhere in the level (not all Shades are present yet, but there are plenty).
I've tried leaving extra Shades around for other Grunts, but they don't seem to jump in, which is a pity. Likewise, if you leave extra Banshees or Ghosts around for Elites, they don't seem to use them. Also, Marines don't seem to jump into Ghosts you leave for them; but that's probably a good thing!
Make your mind up Grunty!
A bit of Shade rearranging led to something I don't think I'd seen before: a Grunt getting out of his Shade, other than after being tagged. I'd moved the Shade right over to the edge of the step to the Pelican area. As I approached and got spotted, he jumped out and started to make a beeline for me to have a go with his plasma pistol. Plucky little fella! I replayed this a number of times, and quite often he'd change his mind after a few seconds and run back; especially once I started shooting. I can just imagine his grunty thought processes finally kicking into gear: Need… bigger… gun!