Rearranging the furniture
Posted March 24th 2005, updated later
- The basic idea
- Skipping at the first bridge
- Skipping near the spiral path area
- Banshee access
- Using a base save
The basic idea
There are various places in the level where it's possible to skip a trigger that's necessary for enemies to spawn in certain areas. Having skipped it, you can move vehicles and Shades around or change things in other ways. Many such items are already present, though others will only materialize when you play through properly later. Once you've done this 'rearranging', you can go back and do the triggering you skipped, to resume normal play. Except, as you play through, things will be different thanks to your work!
There's huge potential and you'll find many applications of this on the site. To mention just a few if you want to get started, let me first suggest arranging some new toys in the first ground battle, giving yourself new ways to fight it. Secondly, some easy repositioning of a Ghost or two will enable you to enjoy the dropship Ghost teleport trick, as shown in BCM528. And thirdly, a spot of Shade moving can give you a crazy-firing Grunt, as shown in BCM45.
Skipping at the first bridge
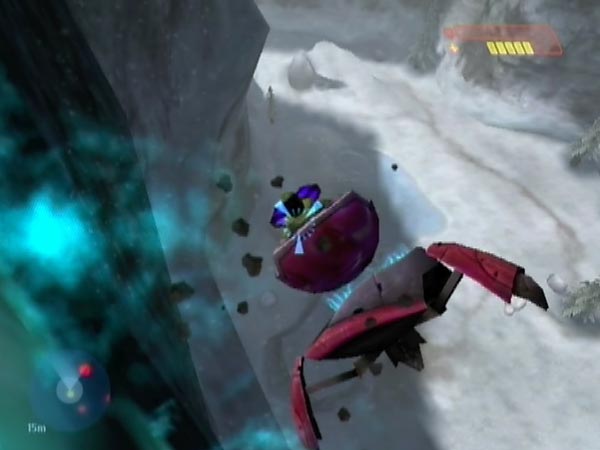
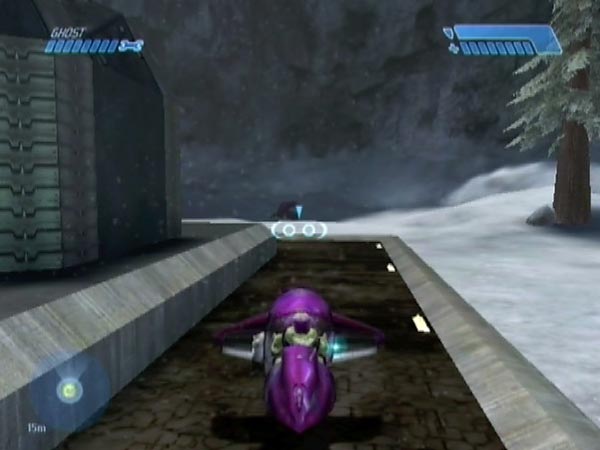
There are several places where you can skip a trigger to do some rearranging, but the first is rather special as it gives you almost the whole level to play around with. At the first bridge you can get off the bridge by either grabbing the bridge Banshee if playing on Heroic or Legendary, or using a descent method (see pic). This way you can avoid triggering the first ground battle yet. While that battle remains untriggered, no enemies will spawn in the rest of the level, nor will any supplies.
By skipping here, you can potentially give the level a novel feel the rest of the way through. I refer to rearranging done from here as early rearranging, as you're doing it from so early on.
Resuming normal play
Having done any rearranging you want, here are three methods for resuming normal play.
If you've got a Banshee, the simplest is to fly back up to the bridge to continue, maybe after sending the Banshee down to the ground for use when you emerge into the ground battle. You could grenade it off, but it's fairly easy to dismount at the edge of the bridge so it falls down of its own accord.
Alternatively you can do things on foot. Go through the door beneath the bridge, then to the lift inside, being careful not to walk into the empty shaft. Bring the lift down, ride up and head through the room. A short way into the passage that leads to the bridge, enemies spawn behind you and (slightly further on) a checkpoint is triggered. You can now turn around and resume normal play (note: enemies have to spawn in that second room in order for you to be able to trigger the first ground battle).
If you've got a Banshee and you'd like to skip the indoor segment across the bridge, land on the bridge and go inside just far enough to trigger enemies in the second room (it happens near the end of the long middle section of corridor). Return to the Banshee then fly down to the door below and enter, triggering the battle. You can see this method used in BCM45 for example, in which a Shade was moved. A side-effect of this method is that you'll have seven extra Marines. Also, rather strangely, it seems that you won't be able to trigger a checkpoint at the underground bridge, nor at the second corner of the exit tunnel. In order to get those, it seems that you need to've triggered the checkpoint you'd normally get when heading through the exit passage into the first ground battle.
Warthog shortcoming
Although a Warthog gets dropped by the incoming Pelican, there's usually no point trying to move it to a handy position somewhere else, because it gets magically placed in its usual overturned position near the Marines when the ground battle is triggered. It can't be freely rearranged like other objects can. There's an exception though, namely in regard to the business of getting an extra hog (and possibly extra Marines too), where you make sure to be in the Warthog at the crucial time, preventing it being moved.
Overlapping music
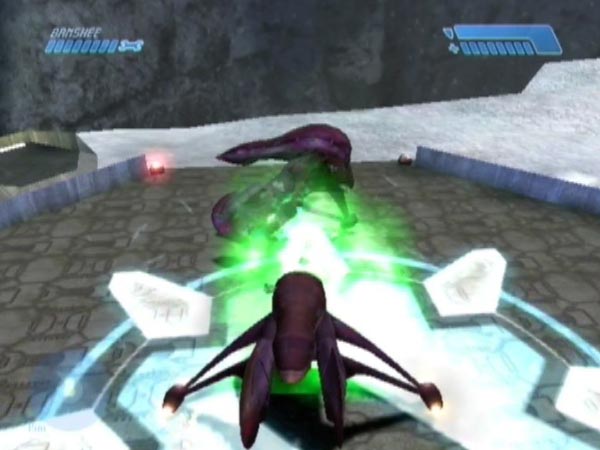
If you open the door to the cavern during your rearrangement work (the cavern being the area with the underground bridge), you'll probably notice something odd later when you battle in the two-Wraith area. When you enter the area, you'll hear not only the usual music but also the music associated with opening that door. Presumably the game refused to play it earlier because the two-Wraith area hadn't been triggered yet. Now that's finally happened, it starts the tunnel music which has been waiting all this while. You can also end up getting some overlapping music elsewhere due to similar triggering issues.
Skipping near the spiral path area
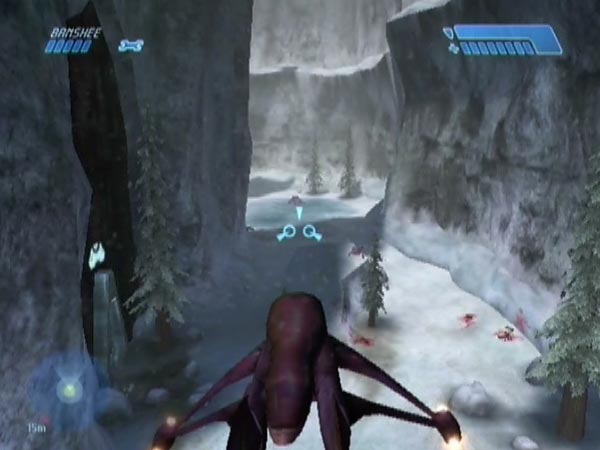
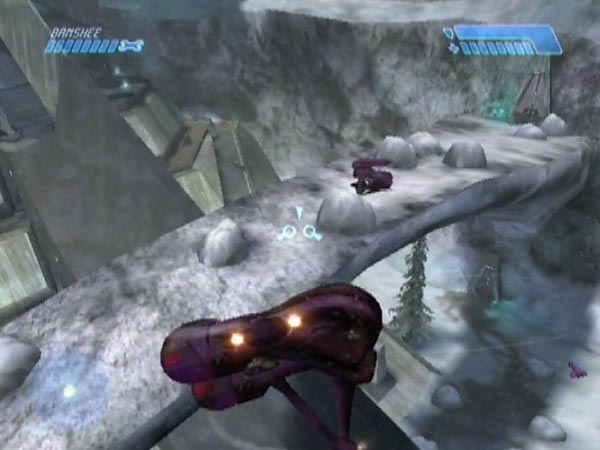
Once you reach the tower zone in normal play, there are various triggers you can skip, for example to set up a blockade or do other rearranging for a spiral path megabattle; or to rearrange things in the twin bridges area. Skipping is done simply by flying over the trigger zone in a Banshee you acquired earlier (e.g. possibly having stolen the platform Banshee). As for how high you need to fly, it's enough to be above the height of small trees.
Having done that, no enemies will spawn in the snowy areas coming up, though you would start getting enemies if you were to go through the door in the twin bridges area. You resume normal play by coming back to hit the trigger.
The earliest of these triggers is the tower trigger, which triggers two Shade Grunts (one on each side of the tower) plus enemies behind the nearest door. Further on, you could skip the triggering of the pass guards; and there are more options besides.
Banshee access
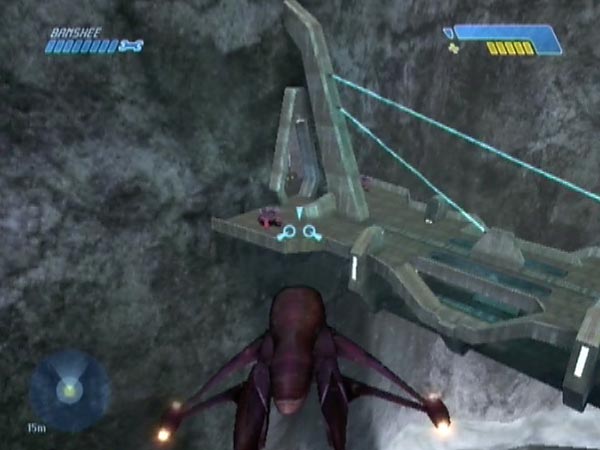
Aside from the bridge Banshee you can potentially grab at the first bridge on Heroic and Legendary, there are five parked Banshees you can access by skipping at that bridge. In order of appearance through the level, the platform Banshee is up on a high platform just around the corner from the crashed Pelican, the tower Banshee is on the huge tower after the rising tunnel, the twin bridges Banshee is at the far end of what I call the twin bridges area (the snowy area below the twin bridges), and the rock bridge Banshees are on the gently arching rock bridge in the final outdoor area.
Using the twin bridges Banshee
The twin bridges Banshee is down on the ground, so you can just run or drive off to fetch it. It's typically the first Banshee you'd access after descending from the level's first bridge. You can then use it to blast or shunt down the two earlier Banshees if you want them for any reason (extras can indeed be useful).
It can also be used to let you reach the very last area, featuring the pyramid structure up to the control room. Just fly up to the exit door of the second bridge and go through. It's the door you'd be using in normal play, and it'll have a green arrow on it. A bit of running will take you to the area. One thing you could do there is move a rock bridge Banshee so you'll be able to step straight into it when you're playing through later!
Getting the platform Banshee first
Just to mention it for completeness, it's actually possible to get the platform Banshee without using another, but it's not easy. In normal play you'd be able to get it by rocketing the platform, but there's no rocket launcher available yet, and if you try blasting the underside of the platform with a Scorpion instead, the blasts just don't seem to have an effect. However, in late October 2010 I had another go at things and found that you can get it down with the Scorpion, using the following two-stage blasting procedure.
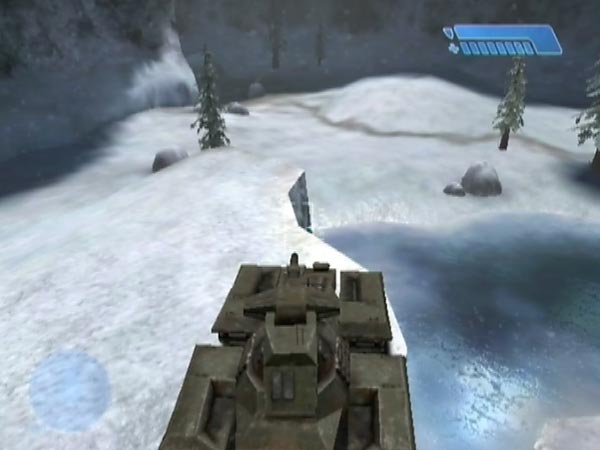
Park on the hill next to the ice patch. Facing the platform, you'll have the ice patch down to your right, and you should be backed into the corner (see pic). From here you can just see the top of the Banshee; a faint dark hump to the left of the platform's central light. The blasting procedure is likely to need multiple tries, so get a delayed checkpoint first. To do that, dismount and head off to trigger a tunnel checkpoint, and keep it delayed until back at the Scorpion. You can use the delay from a grenade throw to also get aboard and take aim, before finally getting the checkpoint.
Try to score a hit on the Banshee. Frustratingly the shells go all over the place, so it can take many shots. You can recognize a hit from the black dot of thick smoke that quickly forms in the explosion's centre.
Once you see that, drive over to the other side of the battlefield, rather closer to the platform, to a spot where you can fire up at the cliff wall just near the back right of the platform. If the Banshee got knocked into that area and you get a good hit, the blast can knock the Banshee forward and off the platform. If you seem to be getting good hits without success however, either the Banshee wasn't in a good position or else it didn't get blasted forward strongly enough and has probably become inaccessible. In that case revert and start over.
Pilot materialization
If you take a Banshee, the pilot will still later materialize; and will presumably be rather annoyed to find his pride and joy missing! The pilot of the twin bridges Banshee is a special case. He has the ability to materialize inside it if it's empty when he's triggered; and I think this can happen wherever it is. As such, you could find that the Banshee you stole has got stolen back, upsetting your plans if you left it somewhere for future use. Therefore, when you trigger him it's best if his Banshee is either being flown by yourself or is back in some area where his materialization in it will be of no consequence.
Using a base save
In trying out bits of rearranging, it can be handy to have a base save you can use as a time-saving starting point. Here's the sort of thing I'm thinking of, for doing early rearranging. Descend off the first bridge, get a Banshee, then get a tunnel checkpoint and save. With this save you'll be ready to get straight into some rearranging work, whatever it is.