Yeti Flood
Posted February 1st 2018
Associated movies
- BCM261 - Heroic; Looking for yeti Flood (7:35)
- BCM262 - Easy; Getting close to log guy (8:30)
- BCM263 - Easy; Yeti Flood unleashed! Two minute teaser (2:24)
- BCM264 - Easy; Cliff guy kept alive (8:15)
- BCM265 - Easy; Log guy kept alive (8:06)
- BCM266 - Easy; Log guy blocked from teleporting (5:11)
- BCM267 - Easy; Getting near swamp guy and keeping him alive (7:31)
- BCM268 - Easy; Swamp guy animation surprise (6:54)
- BCM269 - Heroic; Seeing log guy's teleport arrival (7:11)
- BCM270 - Easy; Getting near Shade guy and keeping him alive (6:31)
- Introduction
- Listed and named
- Random droppability and lack of shunting
- Scripted deaths up top
- Getting near the low down guys
- Preventing scripted death
- Flipping to enemy status
- Blocking log guy, and more
- History and links
Introduction
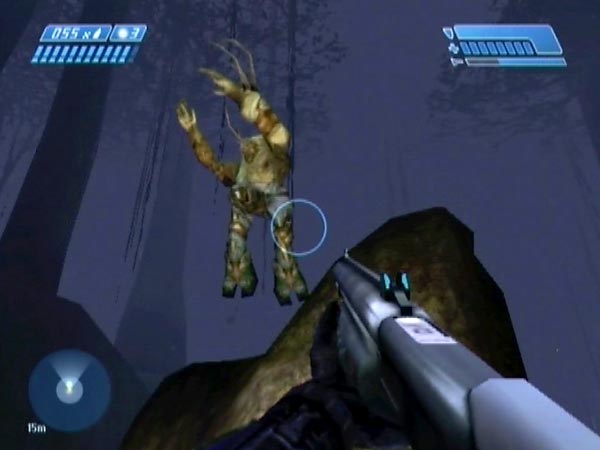
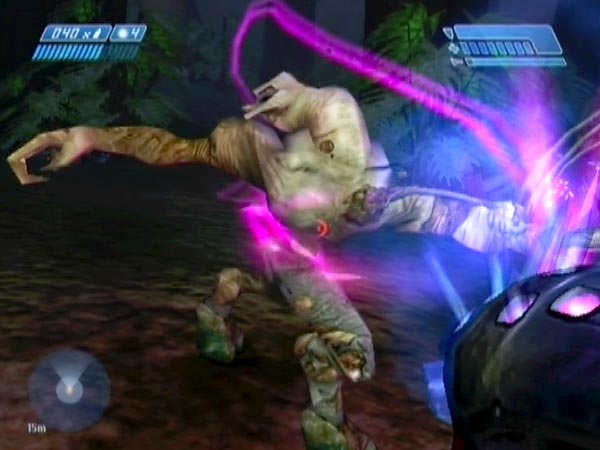
On your way to the structure entrance, you may catch glimpses of unarmed Elite combat Flood, or in some cases you may only notice a yellow dot on your motion tracker. Yellow because there're apparently friendlies. These guys have become known as 'yeti Flood' - presumably because they're so elusive! This is the Flood's first appearance in the game, and I imagine Bungie made them elusive to build the suspense. If you've never really focused on these guys, you might like to go hunting before reading further, to have the fun of seeing how many you can spot, and learning where you can trigger them. Spoilers coming up!
Listed and named
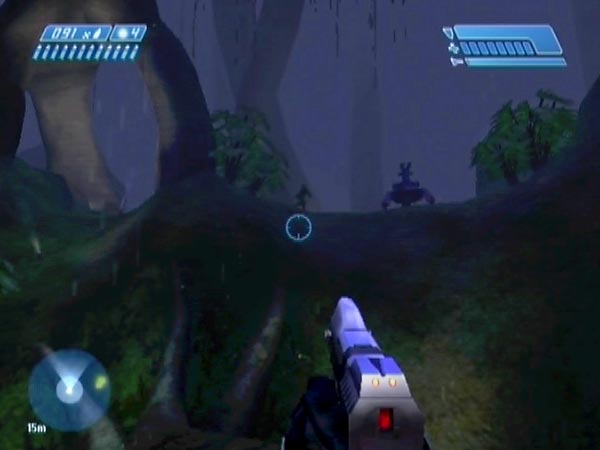
I count eight guys, but they don't all spawn at once. I count six trigger zones (not all separate), each being for one or two Flood. If you're taking a fairly standard route, the Flood would most likely appear in the following order - and I'll name them for handy reference. See BCM261 for a visual guide. However, you have a lot of freedom about the order in which you hit the trigger zones, and zones can always be avoided if you want. Three guys (pictured) are low down, in the standard play area. The others are on top of the map.
Log guy spawns on the log (the big fallen tree), high above the Jackal area. After standing around a few seconds, he turns and starts running down, quickly disappearing from view. His trigger zone is expansive, covering a lot of ground near the covie dropship. In typical play he might well be long gone by the time you see the log, but with crafty positioning it's actually possible to get a good view of him spawning. Of all the yeti Flood, this is the one you can be closest to when he spawns. Sometimes I've seen him spotted and fired on by the Jackals below.
Corner guy spawns up high, beyond the covie dropship. He's easy to miss, but you can potentially glimpse him running. His trigger zone seems to be a small part of log guy's, under the dropship. As such, log guy would always be triggered before him.
Side guy spawns up to the right when you're near the 'root' area of the log, but as far as I can tell, he stays out of sight. You see the tracker dot, nothing more. He's unusual in that regard.
Duo guy 1 and duo guy 2 spawn in a duo by a tree on the hill to the right, when you're near the start of the main part of the log. They're pretty well obscured at first, but after a few seconds you get sight of them as they run away into the mist, with duo guy 1 leading the way. It's possible to get a decent view of duo guy 1 spawning if you're in the right place (seen in BCM261).
Shade guy spawns in the vicinity of the distant Shade when you're near the start of the main part of the log. He runs across the ridge, stops and stands for a few seconds (obscured by a bush, though you can still see his legs), then runs out of sight down the far side of the hill. Unlike the other guys, he's out of your tracker's range when he spawns, so you don't immediately see a dot. His trigger zone seems to be almost all of the duo's trigger zone, so he'd normally get triggered at the same time. But it's possible to trigger just the duo, if you find the right place.
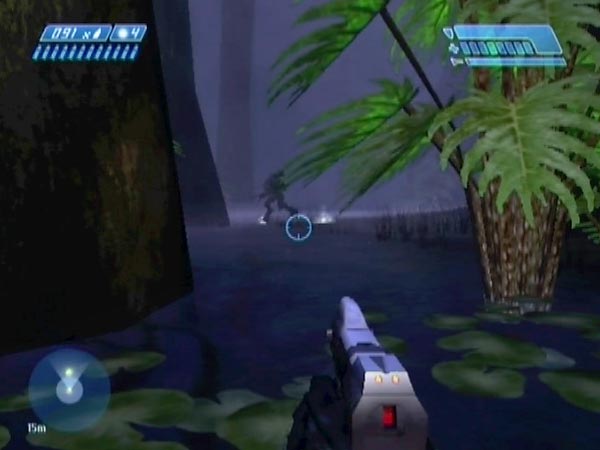
Cliff guy and swamp guy spawn as you get a bit further along the log, though the trigger zone also includes a patch of ground beneath the log. Cliff guy runs into view high on the right and pauses near the edge for a few seconds before running off into the mist. Swamp guy spawns in the water to the left, and can be glimpsed running. On your tracker, the dot for swamp guy appears almost two seconds later than the dot for cliff guy. So although these guys seem to share a trigger zone, it looks like cliff guy spawns first, then swamp guy.
Investigating and replaying
If you want to investigate the exact boundaries of a trigger zone, or want to trigger Flood repeatedly, delay a checkpoint until you're near the zone. There's one associated with the spawning of the first covie group, and it's due after the explosion. Actually there's another possible early checkpoint too, associated with triggering the Jackal group; see here for details.
Random droppability and lack of shunting
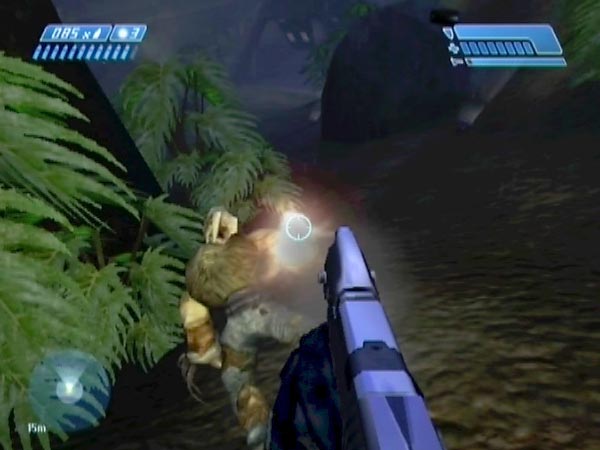
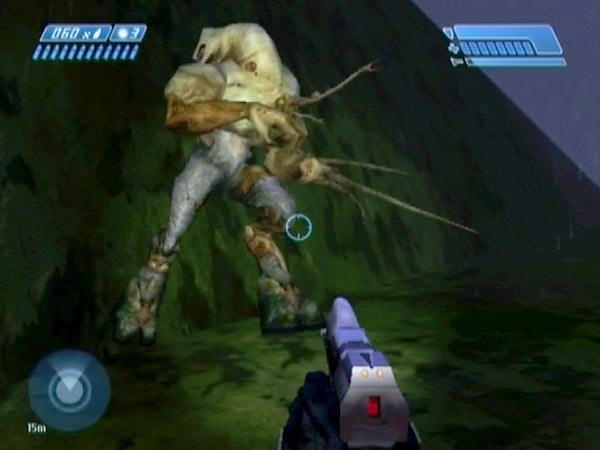
Although the yeti Flood are initially friendlies, you might be interested in attacking them. You can shoot off a guy's arms and head, and he can potentially be dropped multiple times, but he'll always reanimate and get on with his scripted action. The first time he goes down, he may shed a plasma.
However, there's some randomness going on, in regard to whether or not he'll drop. From my experience, I think the situation is this. Each time a yeti Flood spawns or reanimates, he's randomly made either 'fragile' or undroppable. Fragile means he'll drop easily. Just one pistol shot is enough, except on Legendary where it takes two. If he doesn't succumb to the appropriate attack, you'll know he's undroppable. Nothing will put him down, though you can still remove arms and head.
As far as spawning goes, it looks like the chance of being made droppable may be about 40%. It may not be the same for subsequent reanimations though. I haven't got the full picture on that, but I can report one finding. When testing swamp guy on Easy, in a checkpointed situation in which he was droppable, it seemed like after dropping him, the chance of his reanimating droppable was around 20-24%.
Of course, a yeti Flood can also be grenaded or even tagged. All eight are within range in standard play, and I've tagged seven of them (side guy is out of sight, so not a great target). If he's droppable, a grenade blast will put him down. Note however that a blast will never shunt him (i.e. impart motion to him), even if he's currently down. I think this unnatural property is something Bungie imposed to try and ensure that players didn't mess with the scripted movements.
Scripted deaths up top
Log guy, Shade guy and swamp guy are all in the standard play area, and naturally you might think to chase after them for a closer look. But even if you manage to get closer than usual (which I'll talk about in a moment), they soon vanish. Where did they go? You'll start to understand if you later get up to the top of the map via rock-hop and search around - because you'll find Flood bodies! The situation seems to be as follows. Each Flood does his scripted movements, then gets teleported to his particular death spot and killed.
Finding all the body locations should make a nice little adventure for you. Something to bear in mind though, is that as part of the game's normal clean-up work, some of the bodies may've been removed. To minimize that possibility, my advice is to kill any early covies you meet, but leave the structure entrance covies alive. In that case probably all the Flood bodies will still be there. If you were to kill the entrance covies, that could prompt a clean-up which could include the removal of some Flood bodies (particularly log guy, when I was testing this).
There's an odd wavering effect with the bodies. It seems like they aren't resting on the ground in the normal way, which I think may relate to the fact that they can't be shunted by explosions.
The duo are found close together, sometimes partly merged. Apparently there's a bit of randomness involved in where the bodies settle. They can even be totally merged, looking like a single Flood except for some surface flickering. That's rare though.
If you shot an arm off before a Flood vanished, the arm will still be missing. That's a way of identifying where a particular Flood got moved to. Shoot off the arm of one Flood, then go searching the top of the map until you find a body missing an arm, and you'll know that's the guy. But another strategy for working out who goes where, is to make a point of spawning only the particular guy you're interested in - or as few as you can - then going up to search.
If you tagged a Flood, the bang may go off after he vanishes, in which case there may be some splattering around the body - and possibly on the invisible wall.
Incidentally, the Flood bodies won't get shunted by grenade blasts. Evidently that's just a continuation of the situation you had when they were still alive.
Getting near the low down guys
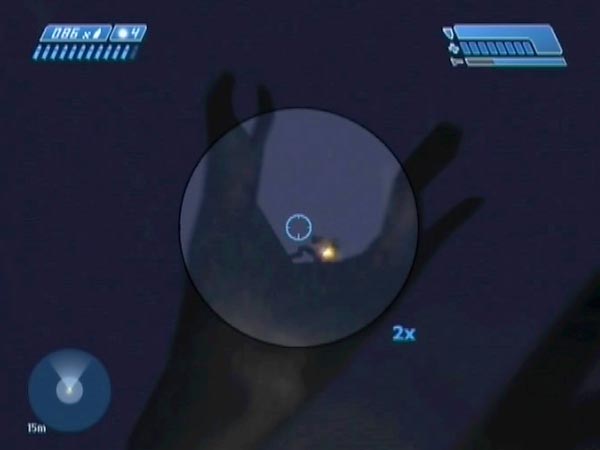
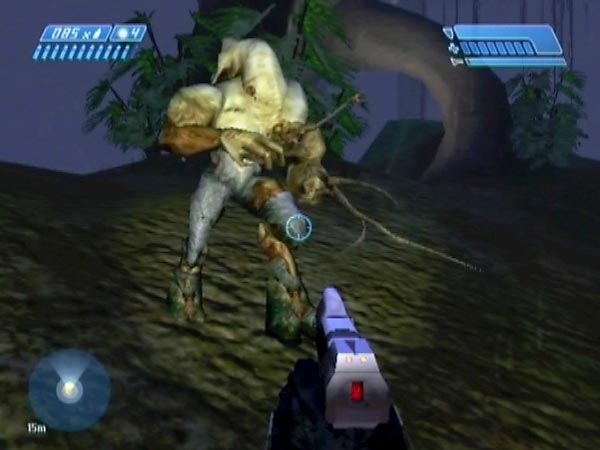
The yeti Flood were designed to be elusive, but as demonstrated in BCM262, BCM267 and BCM270, log guy, swamp guy and Shade guy can actually be seen close up before teleporting. There's a lot of fun to be had with this, and it's pretty easy too.
The basic idea is this. If you drop him via weapon fire or grenade blast, it delays his scripted action, giving you extra time to close in before he vanishes. You can potentially drop him multiple times (subject to luck, in regard to whether he reanimates droppable), letting you be close for quite a while.
To get into this business, set things up with a delayed checkpoint for making repeated tries. You can use a checkpoint associated with spawning early covies (there are two such checkpoints available: see here), or perhaps the checkpoint associated with triggering the structure entrance covies.
Ideally, set things up so that when you trigger him, you're already pretty much as close as possible. For that you'll need some familiarity with the relevant trigger zone, or you can just follow what I do in my movies. Preferably have a convenient aim with a pistol, ready for dropping him. I also recommend having four plasmas ready.
You may like to use Easy, in order to have a shotgun as secondary. Definitely a good weapon to have, and it'll be fun to blast him at close range. Sadly though, Easy is the only difficulty where shotguns are available at the crashed Pelican.
Preventing scripted death
Remarkably, it's actually possible to save a yeti Flood from his scripted death. I showed this first with cliff guy in BCM264, then log guy in BCM265, swamp guy in BCM267, and Shade guy in BCM270. It looks like all you need to do is drop him just before he teleports, so that he teleports in dropped (unconscious) state. Presumably the game wasn't expecting him to be in that state, and this somehow thwarts the scripting at his death spot.
If you want to get your own saved yeti Flood, I recommend using Shade guy for starters. He seems the easiest, though swamp guy and cliff guy are quite easy too.
Setting up for prevention
In my movies for log guy, swamp guy and Shade guy, I set things up so he'd spawn friendly as usual. But you could instead set things up so they spawn as enemies (see the section below about flipping). Then you get the benefit of aim assistance and homing needles. With cliff guy I had him flipped, which was necessary for my needles to home in (to drop him at just the right time, the possibility of which seems quite fortuitous). Incidentally, that same needling method can be used to save a duo guy, though I haven't yet shown it in a movie.
Subsequent fun
When you've got a saved yeti Flood, you can get a delayed checkpoint (close up if he's friendly) and repeatedly play around with him. If he's friendly he'll stand around motionless except for rotating, but there's still fun to be had. One thing you can do is throw grenades and see him react. In particular, if you tag him he'll often rotate as if continually trying to get a better view. If he's droppable, another possibility is to get an unusual arm waving animation, discussed separately here.
If he's flipped, things are a lot more lively because he'll chase you and attack. You can lead him around and potentially get him down off the top of the map (e.g. in the area of the hop-rock, where the terrain is fairly negotiable). From down below he can be lead back up top as well.
One fun thing to do is to lead him to covies so he'll attack them. Mind you, that's probably best done on Easy, so it takes longer before they shoot off his melee arm. He'll also potentially attack the lone Marine on top of the level, if you can get him to stop focusing on yourself.
Flipping to enemy status
In standard play, yeti Flood are friendly. But as I found out, you can instead make them enemies! If you go down in the lift, you cross a loading point. If you then return, you'll find that any existing yeti Flood have flipped to enemy status, and any spawned later will be enemies from the outset. I suspect this flip is the game's way of setting things up for the rest of the level. It's what makes subsequent Flood enemies. Bungie probably wasn't expecting you to backtrack and experience yeti Flood as enemies.
One benefit of a flipped yeti Flood is that needles and plasma balls will now home in, and scoring hits with pistol fire will be easier. If he's just spawned he won't attack you yet, because he's still doing his scripted action, which dominates. He can attack you after teleporting though, if saved from scripted death.
Note: once the entrance covies have been triggered, going down in the lift potentially cancels any further possibility of spawning yeti Flood, but only if a certain condition occurred, namely (as best I can tell) if the lift had time to settle when it came up. So to retain spawning potential, board the lift early and head down before it settles.
Blocking log guy, and more
One interesting facet of log guy is that if you drop him when he's still on the end of his log, he may fall off after reanimating - something I first showed in BCM262. It's rare but you might very well see it within ten or twenty minutes of trying.
He lands near a rock and usually goes left, in which case he gets to two rocks and teleports - unless blocked by either yourself or by a Shade you moved into position earlier. If he goes right however, he ends up running against rock, not quite able to get far enough to teleport - unless you get underneath and raise him. See BCM266 to see him blocked in various ways.
Incidentally, there's scope also for blocking Shade guy and swamp guy from teleporting, using one or more Shades and possibly your own body. I haven't tackled this yet, but may do some movies on it later, assuming I can get some success.
Seeing log guy's teleport arrival
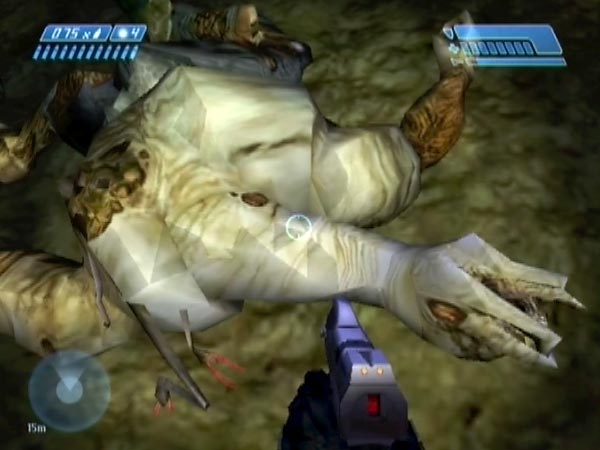
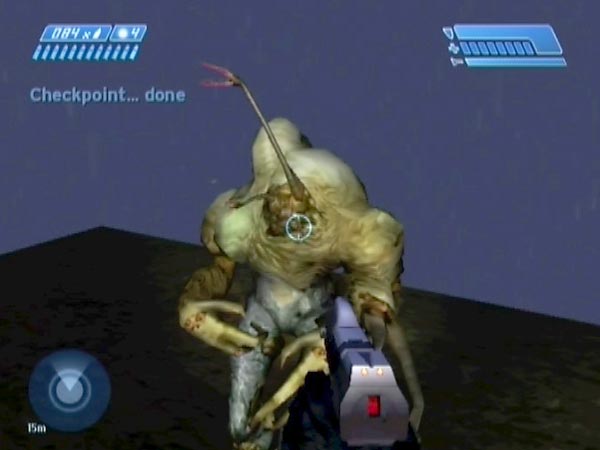
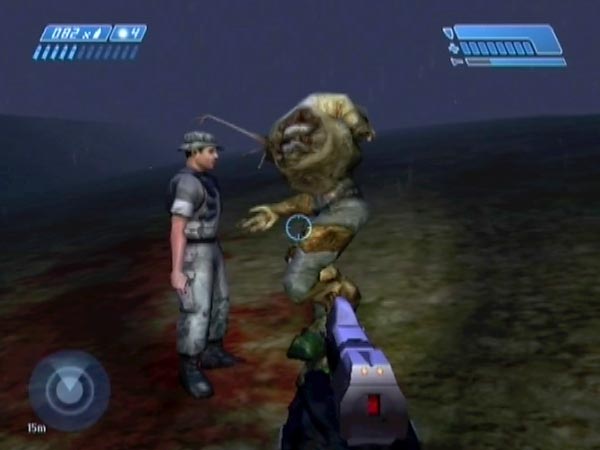
As shown in BCM269, it's actually possible to see log guy's teleport arrival at his death spot. First you get him to fall off the log and get blocked from teleporting by a Shade you moved into position. Then you go up to a place near his death spot, get a checkpoint, and try to blast the Shade clear with a grenade, so he's able to teleport at last. Then you can see him appear up top.
He dies silently, and it appears to happen instantly. Specifically, he's alive when he appears (see pic), which I know because his body is solid and can cause either you or himself to get bumped through the ground if you stand where he materializes. But he starts falling down dead on the very next frame of animation.
History and links
I did some searching for old material on yeti Flood, but didn't find a huge amount. The most substantial thing was Sniper16's forum thread from April 2009. He goes into significant detail, though a lot of it relates to co-op play, where you have a major advantage in being able to see things which would be problematic or impossible in single-player (my only concern in this article). Curiously he mentions four Flood who, observed in co-op, die immediately after spawning up top. I'm not sure if there are any such Flood in single-player. I'd need to find their bodies.
Frogblast and Grimace showed some co-op pictures of yeti Flood in February 2002. There are a few pictures of dead Flood at their death spots, and one picture captioned "Watching one of the dead flood appear out of thin air." - a caption I think isn't quite accurate as I believe they're momentarily still alive.
There's also some talk of yeti Flood in this thread from 2005, plus this one and this one from 2006.
As far as I know, there wasn't an in-depth exploration of yeti Flood in single-player until my movies, starting with BCM261. I'm not even aware of anyone having previously talked about getting close to some of them (the three low down guys), though I wouldn't be surprised if there was some such material, bearing in mind that it's quite easy to shoot them and close in (and it's a fairly obvious thing to try). Incidentally, my movies weren't influenced by any of the old material I found, except that (a) Sniper16's thread alerted me to the fact that swamp guy is down in the water, not up on top of the level as I'd originally imagined, and (b) maybe I read about the Flood bodies being up on top of the level, rather than discovering them for myself, but I can't remember.
As for saving yeti Flood from scripted death, I assume that major development was down to me, starting with cliff guy in BCM264 then consolidating with BCM265, BCM267 and BCM270, in which the general principle emerged - i.e. of dropping a guy just before he teleports.