Battle plans
Here are some battle plans, all of which could be done with or without Marines, but I'll usually assume you've got Marines along for the fun. In the standard 'bridge assault' plan I also include information on Marine movement behaviour which can enable you to control the squad with more precision.
Bridge assault
Associated movies
- BCM49 - Normal; Bridge assault with needler & rocket launcher, x2 (4:50)
- BCM50 - Normal; Bridge assault with pistol & plasma rifle plus hog, x2 (5:00)
- BCM59 - Normal; Solo bridge assault with Hunter companion (5:03)
- BCM165 - Normal; Bridge assault x3 (5:56)
- BCM181 - Normal; Bridge assault x3 (6:22)
- BCM215 - Normal; Rocket assisted bridge assault x3 (6:29)
- BCM217 - Normal; Bridge assault x3 (6:56)
- BCM341 - Normal; Bridge assault x3 (6:20)
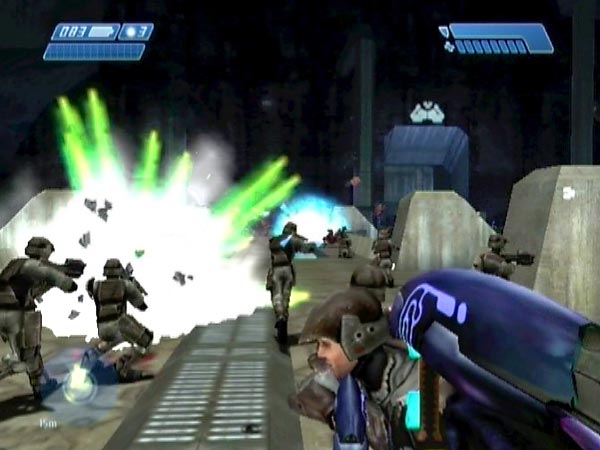
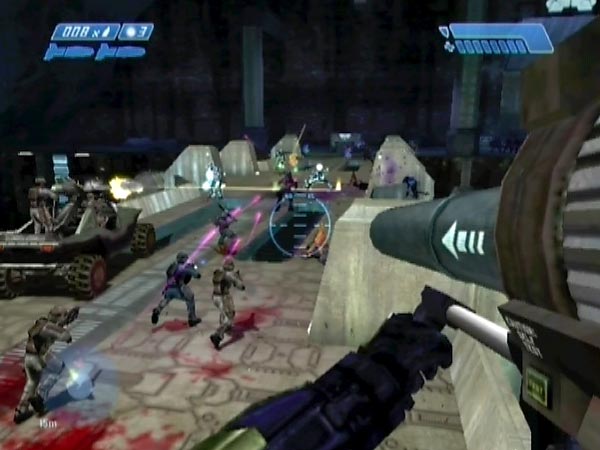
The standard plan is of course to battle your way across the bridge, something you're doubtless already used to doing in normal play. This time you've got a whole heap more covies who want to stop you though, potentially including an extra two Hunters! So if you ever thought it was a tough passage of play before, you can imagine what it'll be like now.
For this battle plan in particular, I'd draw your attention to the idea of getting a fast-start checkpoint so you get into the battling faster.
Hunters and loose grenades
The Hunters are the biggest threat really. You can be doing a fine job of slaughtering the Elites and whatnot as you move up the bridge, and then BLAM! - a fuel rod shot sails in from the side and sends you into next Tuesday. You can reduce the risk a lot by keeping on the move but you'll still be living dangerously, especially in view of all the dropped grenades which quickly litter the ground, and which can cause your squad to be decimated if set off. You may want a rocket launcher so you can give as good as you get.
Of course, you could always eliminate one or more Hunters beforehand for an easier ride, which can free you up to use different tactics. You wouldn't feel such a need to pack a rocket launcher, and thus you'll be more free to use other weapon combos against the bridge enemies. If you eliminate Hunters entirely, you'll have a significantly different battle.
Marine control
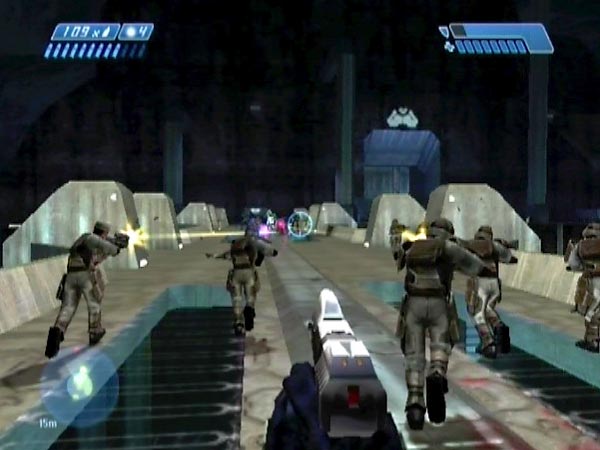
Marine behaviour in the cavern is basically to follow you, but it's a zonal system. As you advance and enter a particular zone, they'll be triggered to advance accordingly, spreading out into a new area. A good knowledge of the various 'advance lines' enables you to more precisely control your squad, and in particular you can potentially make them advance ahead of you, which can be useful as a way of taking some of the heat off yourself, and even making them charge into covies for some close and personal action. You can support them from behind - particularly with a pistol or plasma weapon. You can even retreat a few metres after triggering an advance, to get further from the enemy.
In specific regard to the bridge, here are the key things you need to know. Going about a metre past the start of the first pair of glass panels triggers the Marines to advance onto the bridge and beyond that point, as far as a few metres past the start of the next pair. Reaching the end of the second pair triggers them to advance beyond, as far as the start of the final pair. And going about two metres past the final pair triggers them to spread out onto the far platform, predominantly on the right of the block. In all cases you can also make them fall back by retreating several metres behind the advance line. I suggest you wipe out the covies then give yourself some unpressured practice with Marine control. Get familiar with the trigger lines (which incidentally don't seem to be straight lines orthogonal to the bridge, if you care to check them in detail).
When you trigger a Marine advance, it's nice to have cover at which to pause if you want, letting them go past. You could potentially leave some carefully positioned Ghosts on the bridge to provide such cover, but in the case of the second and third advance lines mentioned above, there are also bridge stanchions to use.
Basic weaponry
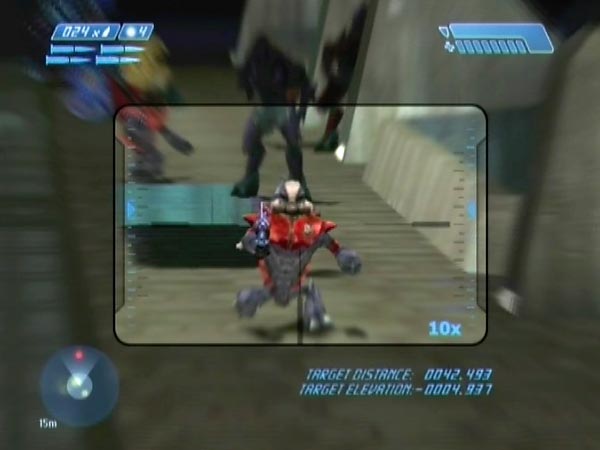
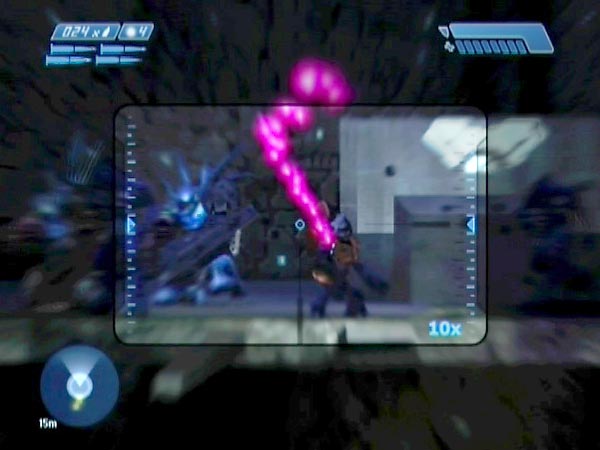
The first thing I want to say about weapons for use on the bridge is that a needler is great against the Elites. It's pretty easy to send streams of needles into them with explosive effect, and if you're really keen like me, you can even have spare needlers lying along the bridge to keep up your supply of little pink friends (i.e. needles). When needling though, it can be annoying when a sniping Johnson finishes off your target before your needles even get there; so maybe you should eliminate him. Personally I rarely battle with a sniper - something which also saves myself and a lot of Marines from getting shot in the back! And the way I see it, every effortless kill for a sniper makes for a bit less fun for me.
As for the other four basic weapons, possibly my favourites here would be the pistol and plasma rifle, both of which offer power and precision even at distance, but they all have their attractions. With a plasma pistol you could make a point of taking down Elite shields promptly, so Marines can start wearing down Elite health. I suspect Marine fire would count for more that way, rather than a lot of it going on ineffectively peppering shields (though if a large squad is focused on only one or two Elites, they can take down shields pretty fast).
The AR is somewhat underpowered on Heroic or higher, but could still be good fun if you've got a large squad and perhaps reduced the Hunter threat in advance. It's certainly great as a secondary to whip out for drilling covies at close range when things get intimate. For medium range it's not very accurate though, and is just a weapon of slow attrition. When supporting Marines from behind, the other three weapons would be preferable for shooting through the gaps, though with a pistol you have to be rather careful not to accidentally head-shoot your own guys, the way they keep jumping about.
As you finally make it across the bridge, it's good if you've kept some grenades handy so you can scatter them around to dissuade covies on the right from closing in too fast. Your shield will probably be bleeping by then if you were pushing things, so you could probably do with a bit of recovery time if you can manage it. Fast-acting frags are great for taking out Jackals in particular. They tend to hang back.
Perched view
You can hop up onto a bridge stanchion for a nice high view. Take a running jump or hop up off the rim. It's ideal for rocketing and fabulous for pistol work (sniper rifle too if you want things easy), plus it would keep you safe from being run over by any Ghosts, friendly or otherwise. Obviously you'll be making yourself quite a target, but it shouldn't be too bad if you've made Marines advance past you to take the heat off. Perching on a stanchion past the end of the first pair of glass panels would be ideal for that.
Hunters are pretty poor at targeting you when you're perched, but they certainly can blast you. Amusingly, incoming plasma balls from jackals can be avoided by jumping so they pass underneath. Shade fire can be a real pain however, so you'd probably want to suppress it fast. One other thing I'll mention. It's possible to make a running jump from one stanchion to another, if it's near. Difficult though. Much easier to hop down then up to the next.
Fighting solo
Although you'll probably have a bunch of Marines with you most times, don't overlook the option of tackling things solo. Playing solo has been some of the best fun I've had with this plan, and as you'd expect, the fight tends to last a lot longer. It's also a welcome pleasure to be able to move around freely without repeatedly getting stopped by Marines in the way; and as such, you can dodge incoming fire more easily. Plus you won't have to worry about frags getting dropped nearby!
With solo battling it becomes more advisable to leave some spare weapons on the bridge, otherwise you can easily run out of firepower and find it hard to advance far enough into enemy territory to be able to pick up a dropped weapon. Then again, that problem could also be an enjoyable part of the challenge, as you'll need to pick a good moment to dash forward for a quick grab. But you can make an Elite bring a plasma rifle your way by getting him mad and letting him close in before killing him.
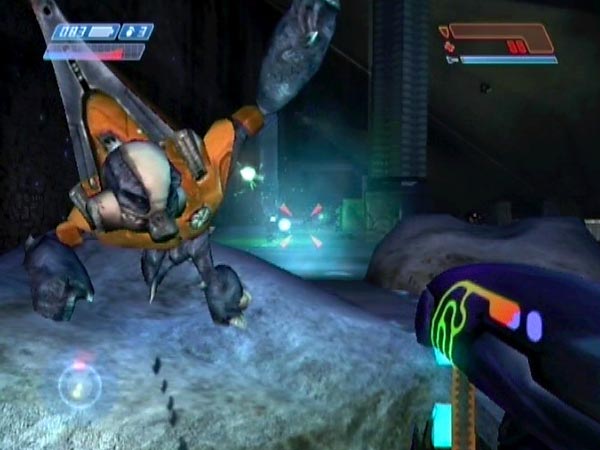
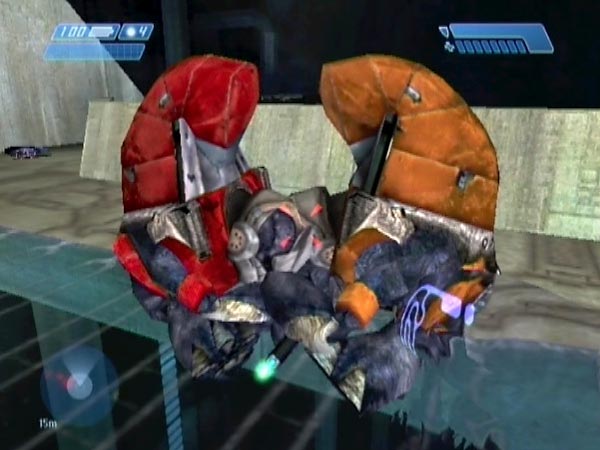
If you've got a save in which there's a Hunter near the start of the bridge (something you can encourage by not giving the covies as long as usual to retreat across the bridge when you're setting things up), one interesting thing you can try is to keep him close thoughout the battle, dodging his swipes while dealing with the other enemies. He can even act as a shield sometimes (see pic). It makes a novel challenge and you can see an example of this in BCM59. Ideally you want to keep him close enough that he never takes a shot at you. In BCM59 I slipped up twice in that regard, but I got away with it as his aim was poor.
Deep incursion
Associated movies
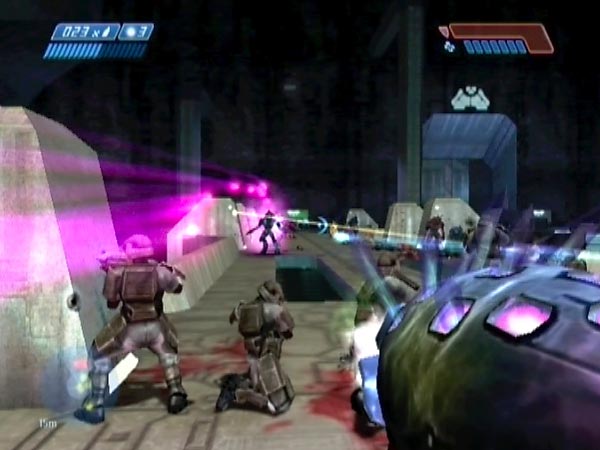
Drive or fly to somewhere across the bridge and attack the enemy from there. Lots of tactical possibilities! As part of your fighting you can potentially attempt some long-range support of Marines who try to battle across to follow you - something for which you'd probably want a sniper rifle and rocket launcher - but you'll be hard pressed to save many, even though your presence will likely be diverting some attention.
If you want some close Marine support, dash over the bridge in a hog. With a Marine-retaining hog you'd be able to get continued chain-gun support if you want it, and it would be nice if it's manned by Pelican Marines invisible to the enemy so it won't even get targeted. However, you'll probably take considerable damage on the journey. On Normal or higher, it's hard to avoid getting hit by at least one plasma ball.
Right or left
As for places to go, there's lots of space to the right of course, and it's a good place for sniping. Another good place to go for some sniping is up on the highest pipe - which is also great for rocketing and grenade throwing. On the lower pipes you tend to come under too much fire.
If you want to go to the left, here's an idea for setting things up quite nicely for that. With Marines held back by an entrance blockade, first draw most enemies to the right, away from the bridge. You can get a fresh checkpoint after that, for replaying things. You've now got a relatively easy route for driving or running across the bridge, and the Marines following behind should make fast progress though they'll eventually come under heavy fire from their right. The net result should be a concentration of hectic fighting in the area near the end of the bridge, with covies under attack from two sides.
When fighting from the left, I think it's nice if the two rocks are quite low (see pic) so you've got a good view and can shoot over them while still getting some cover. The rock geometry gets randomized each time you go through a loading point, so you can potentially arrange for low rocks if you want. Mind you, low rocks may not seem quite so favourable when you need to recharge your shield!
Over the hump
Another place you can go is over the hump into the next section of tunnel. You're likely to have a lot of Hunter shots flying your way, but the hump afford excellent cover and you can back off when needed. Rocketing covies from over the hump is tremendous fun, and it's especially nice if your set-up includes Ghosts which they can man. You can enjoy blasting those when they come over the hump. Covies on foot won't cross the hump, except for raging Elites and Hunters.
Banshee attack
Associated movies
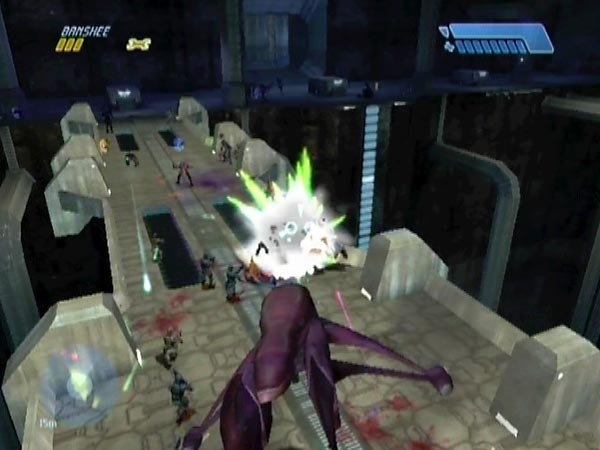
Have some fun attacking with a Banshee. This megabattle presents possibly the most enjoyable Banshee combat in whole game. It's so much fun swooping around blasting the enemy.
I'd say this is best done with Marines present so you can support them, periodically getting close glimpses of the action on the ground. It's more exciting and interesting that way. Their movement will depend on where you fly though. Basically you want to draw them over the bridge, but you can also make them fall back sometimes to give you more time to clear the ground ahead of them.
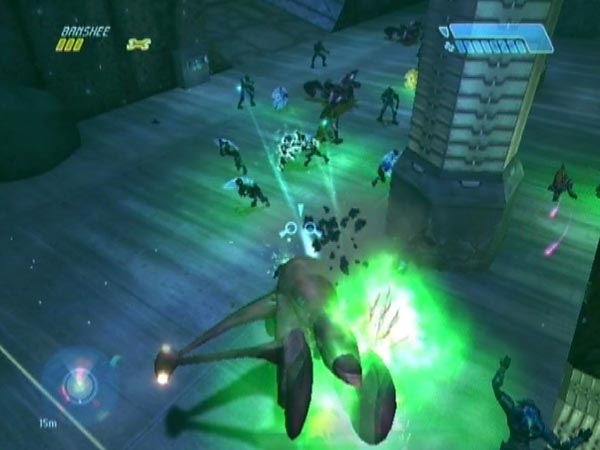
I recommend using Normal or Easy for this plan, as the Banshee really can't take a lot of fire. On Heroic you'd mostly have to stay quite distant from enemies or the Banshee would start smoking up pretty quickly. Things are much more fun on Normal, though you do still have to be quite careful about your flying and can only afford to be gung-ho in limited amounts. It could be worth having a save on Easy so you can enjoy swooping close to enemies for longest, but I haven't tried that yet. Easy would also allow Marines to survive for longest when they're battling on the bridge.
As well as using the Banshee's weaponry, don't forget that you can also mow down enemies or make them dive. You can potentially make some dive off the bridge into the chasm. If I can offer one other tip, it's this. When Hunters are present, beware of hovering in one spot for long, because even on Normal they're rather excellent at targeting you. In fact, many times I've been blasted even when swooping around! You can see a few such events in BCM143. On Normal a healthy Banshee can survive a direct hit, but you'd be in pretty bad shape thereafter.
Warthog joyride
Whizz around in a manned Warthog doing a lot of splattering, making enemies dive into the chasm, and letting the chain-gunner do his stuff. You could have a sniper in the seat too - one of the few times I'd actually be happy to have a sniper in the battle. If you've also got a load of Marines running around, you'll have to be pretty careful to avoid them when they've advanced a good way, but that can be part of the fun.
For this plan you wouldn't want to be using a difficulty higher than Normal I think. Even on Normal, it's hard to get across the bridge without losing a lot of health, though you can help yourself a lot if you can manage to avoid plasma balls from Jackals. Easier said than done, as there's a lot of Jackals! Things would probably play best on Easy.
One thing you might like to do is briefly go over the hump into the far bit of tunnel, so you can then turn around and launch the hog back into the mob. Also, it's quite nice if there are manned enemy Ghosts around, as you can barge into them and send them flying.
Long-range mischief
Associated movies
Enjoy some leisurely long-range shooting and mischief, gradually wiping out the covies. This is essentially a solo plan, though in certain locations you could still have Marines present making amusing comments on the carnage you wreak. You wouldn't want a sniper around though, as he'd potentially steal your kills.
Typically you'd want a sniper rifle and rocket launcher. There are some great high locations you can perch on, including a big hole in the wall on the near side (and it's deep enough to land your Banshee there so you can later move position). As well as sniping and rocketing, you can have fun with long-distance grenade throws, including tagging. Use a zoomed sniper rifle to watch the amusing results. Another use of the sniper rifle is to land a round near a dozing Grunt and see him leap up in surprise.
The pistol has good range too, and in case you didn't know, the plasma pistol has even longer range. There's excellent scope here for doing a lot of plasma pistol sniping. It's also fun bouncing plasma off Hunter shields (and you can even use the Banshee's cannons for that).
On top of a block
There's plenty of opportunity for having your mischief lower down too, and I especially like standing on the block at the start of the bridge - maybe with a spare sniper rifle there. You get a great view of enemies on the bridge, and you can potentially attract more if you get their attention (e.g. peppering them with pistol fire). Also, new enemies tend to advance onto the bridge as you kill the ones already there.
You can also have Marines hanging about for company. They won't advance, and the usual enemies stay too far away for them to shoot at unless you make an Elite or Hunter mad enough to charge - which you could do deliberately for fun and then let the Marines handle him. However, if you got 'Herbie' into the battle (see Extra enemies), you might see him coming your way at some point, and likewise either of the Pelican attack Ghost pilots.
Broken bridge
Another interesting place is the broken bridge. To set things up nicely for using that area, first try to draw a lot of covies along to the right of the far side, so they'll be relative near, peering at you across the void. A bit of flying around in a Banshee will do the job, and you can get a fresh checkpoint afterwards to save you having to do it again. You can now enjoy some rocketing and grenade work, or whatever.
You can also enjoy some long-range needling there (see BCM206). If you stand on the tip of the long girder extending from the broken bridge, needles have just enough range to bury themselves into covies directly opposite. Fire a stream of needles then switch to a sniper rifle to watch them pile in. Quite amusing, though covies sometimes move away to the side and the needles don't make it. If you're lucky the bang may set off a chain reaction. Sometimes Hunters may open fire. They're not too good at targeting you, but they can dislodge you from the girder, so beware!
Raging Elites and Hunters
One little recreation you might like to try is the following. Damage an Elite or Hunter enough that he goes into rage mode. He'll run across the bridge and you can potentially watch him get tackled by Marines. In regard to an Elite, you'll want to ensure that his shield gets long enough to recharge during his run, so he can put up a decent fight (reds are best). So you'll need to be sufficiently far away. However, don't be too far away or his rage will end and he'll go back.
Handy starting checkpoint
If you're interested in having a prolonged session of play at some particular location, trigger a new tunnel checkpoint (you'll need to wait a while since the previous triggering; 73 seconds on PAL Xbox) and delay it until in position or nearby. As long as the game doesn't consider you under enemy threat (you may need to hide from them), you should get the checkpoint (an example of a fast-start checkpoint). You could also have spare weapons nearby, such as an extra sniper rifle.
Cloaked mischief
Have some fun using the active camo from the two-Wraith area. Here's how to set things up for convenient replaying, starting from a standard battle start checkpoint.
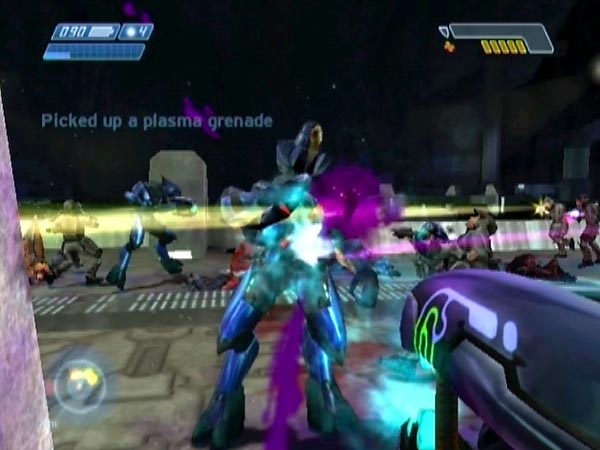
Get armed with your preferred weapon combo, board your Banshee, blast the entrance blockade if you've got one (assuming you're going to want Marines flooding into action), then fly to the active camo. Wait a while so you'll be able to get a new checkpoint on the way back (40 seconds should do), then get cloaked. Instantly reboard and efficiently fly back, getting a new checkpoint on the way. That's your set-up complete.
Now for the fun! Continue straight into the cavern and you should still have about 35 seconds of invisibility left, to use as you wish. You can fly to a chosen spot and start wreaking havoc from there with grenade work and melee, potentially remaining undetected until the cloaking finally wears off - or until you choose to open fire.
One fun place to go is on the bridge. You can watch the covies standing around and then reacting as the Marines arrive - and then you can maybe give them a nasty surprise from close quarters! Incidentally, a rather amusing thing is to see how quickly Grunts fall asleep again after the commotion of your arrival dies down (e.g. a Banshee falling into their midst). You can potentially see them repeatedly getting woken up by random fire from spooked colleagues.