Sleeping Grunts room battle
Posted May 29th 2024, added to soon after
Associated movies
- BCM492 - Heroic; Four ways (7:35)
- BCM493 - Heroic; Another four ways (7:35)
- BCM494 - Legendary; Setting up for battle (5:38)
- BCM495 - Legendary; Battle x3 (6:37)
- BCM496 - Legendary; Battle x3 (6:47)
- BCM497 - Legendary; Speed plays (6:51)
- BCM498 - Legendary; Sniping spotlight (6:57)
- BCM499 - Heroic; Needler rampage x3 (6:53)
- BCM500 - Heroic; Sleeping Grunts room showcase (6:30)
- BCM501 - Legendary; Reverse battling via wall transit (6:26)
- BCM502 - Heroic; Needler rampage x3 (6:51)
Introduction
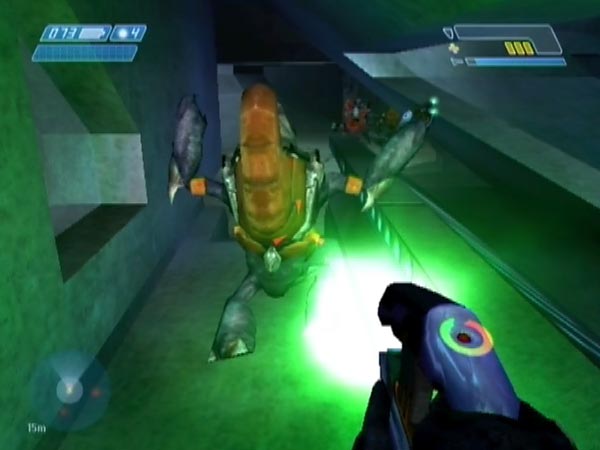
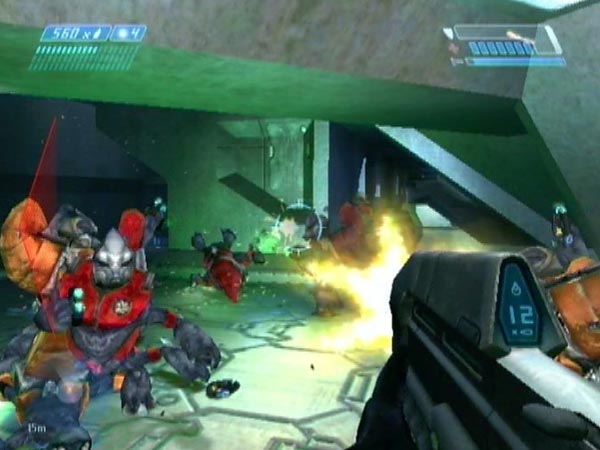
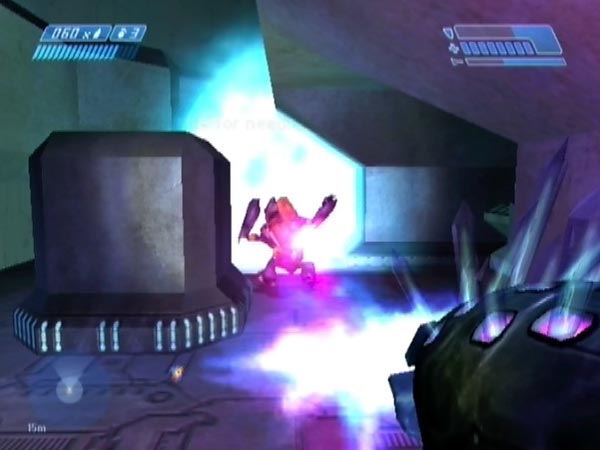
After tackling covies in the snow of the twin bridges area (the large area with two bridges high overhead), you leave any surviving Marines behind and head indoors. Near the end of a passage, some languid music welcomes you to a memorable room full of sleeping Grunts, along with two patrolling Elites. It's the level's most heavily Grunt-populated room. On Legendary 30 Grunts spawn, on Heroic it's 25, and on Normal it's 20.
Mind you, there's a quirk. Quite often one of the Grunts spawns badly and falls through the scenery, into the void. He gives a cry such as "Not again!" (namely a tag cry, which is what Grunts use when they fall), and you see a tracker dot for him off to the right as you approach the door (the other two dots being for the Elites). In such a case then, you'll actually be one Grunt short of the number you were supposed to face. Not that you'll notice much difference in battle though, with so many of the critters around!
In this article, prompted by my movie BCM492 and to some extent modelled after my glasshouse battle article, I'll talk about ways you can enjoy slaying the occupants, and about how to create a nice flexible set-up for doing so repeatedly.
Difficulty levels
As to what difficulty level to use, I'd recommend Heroic to begin with. You can have good gung-ho fun with that without too much risk of being killed. Legendary is another case entirely. It's pretty severe, and even just a few Grunts can quickly eat into your shield. But on the other hand it gives you a lot more to get your teeth into, in terms of serious combat. You also get a preponderance of red Grunts - i.e. the more aggressive variety. Of the 30 Grunts that spawn, expect between 22 and 24 to be red. Nasty critters! On Heroic there's more of an even split between red and orange Grunts.
Setting up
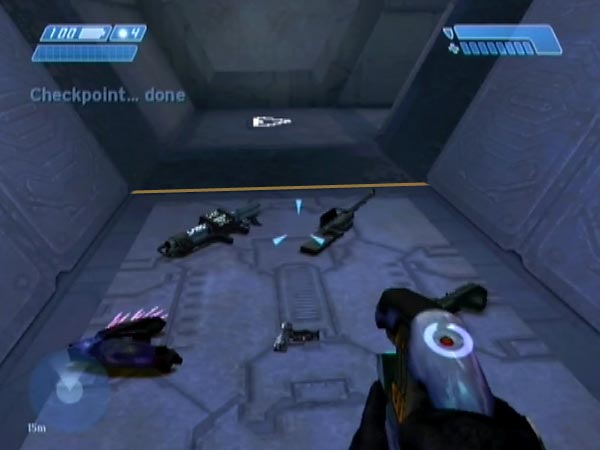
For tackling the room again and again, ideally you should create a good flexible set-up for that. The key ingredient is to have all possible weapons to hand, so that each time you revert to your starting checkpoint, you can choose whatever combo you like.
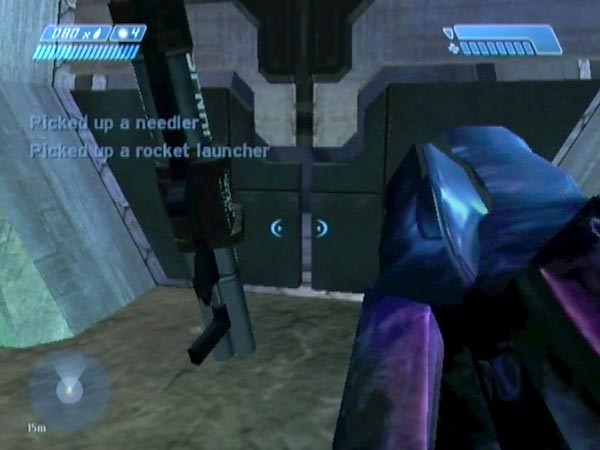
So, here's the outline - and you can also watch my set-up tutorial BCM494. After making the outside area safe, bring weapons along to build a collection. There were lots of covie weapons available from covies in the twin bridges area. If you want a plasma rifle on 100%, you can get one from a Ghost pilot or Banshee pilot, but there was also one back at the active camo. If you want a plasma pistol on 100%, that needs to come from a Shade gunner. As for UNSC weapons, you'll want a full pistol, AR, sniper rifle and rocket launcher.
Where should you have your spares? The ideal place would be shortly before the trigger point for the room, which you should avoid for now, and which is namely at the start of the final black stripe in the middle section of the passage (see pic).
However, there's a checkpointing issue to consider. You're going to want a checkpoint to complete your set-up. The obvious one to use is the passage checkpoint, triggered less than halfway along the short section before the main stretch (but see my 'WARNING' note below, concerning a precondition). So to have your weapons up near the room trigger, you'll need to keep the checkpoint delayed a while until you're done. It's rather awkward repeatedly jumping while moving weapons, and error-prone too, but to minimise how much of it you need to do, at least throw all the weapons across the checkpoint trigger line before crossing it, so they won't have much further to go.
If you prefer to avoid the awkwardness of moving weapons while jumping, one option is to simply have the weapons far enough back that you can do all the moving without crossing the checkpoint trigger line. For example just throw them across the line (ideally with a bit of care to get a decent layout) and be satisfied with that. But another is to forget about the passage checkpoint entirely. With a Banshee, or a Ghost as second-best, you can whizz off and bring back a delayed tunnel checkpoint, to use that as your final checkpoint. That's what I'd recommend. All these various options are shown in BCM494.
Of course, you should also make sure to have a full stock of grenades plus full health, and be carrying your preferred weapon combo when you checkpoint.
Note: I've had cases where certain weapons vanish when the room is triggered. So I wouldn't recommend throwing weapons across the room's trigger line (if you were considering doing that), because some might vanish before you can reach them.
Room not triggered yet
By the way, it was good that you didn't trigger the room yet. That way, the covies will get randomized each time you play, making for variation, not only in the Grunt locations but also the state of the patrolling Elites (and in particular, whether or not you find them 'stuck' on the scenery, a shortcoming they're prone to). That said, if you don't care about things being the same every time, you could of course trigger the room before checkpointing.
Eliminating the music
When playing battle after battle, the music may start to grate a little, and there's also the issue that if you're engaging in vigorous gunplay rather than stealth, the music doesn't exactly fit. The music also makes it harder to hear the covies, and in that sense is an actual handicap in battle. Well, it's possible to set things up so you battle without music if you want. You can do it just by including the following extra step.
Fly up and land on the first of the twin bridges (see pic), then go inside and activate the lift, and wait until it arrives (that wait is just to make sure the lift won't be constantly humming during your battles). You can now return to the Banshee. Later when the music starts, it'll quickly fade out because the lift is above ground-level. That's the fade-out trigger the game continually checks for, according to my understanding.
But there's another way of doing things, just slightly longer, which usefully gives you a checkpoint to finish off with (so you won't be needing either of the earlier mentioned checkpoints). As such, you'd do this last, after all the weapon moving. You can see it demonstrated in BCM494. Activate the lift as before, but this time ride down in it. Go through the door at the bottom (this triggers a checkpoint, which in normal play you'd trigger when entering that bending passage from the other direction), then ride back up and go back through the room. In the short second section of the exit passage to the bridge, there's now a checkpoint trigger because of that last trigger you hit. Keep this exit checkpoint delayed as you head back to the Banshee and to your weapon collection, to finish.
Note: the latter routine also lets you modify a standard set-up to one in which the music is eliminated.
WARNING - strange checkpoint dependency
In this set-up advice I've mentioned the passage checkpoint and also two checkpoints in connection with eliminating the music. However, in order to be able to trigger those checkpoints, it looks like there's an earlier checkpoint you need to've triggered (it's a strange dependency). Namely the bridge checkpoint in the cavern. So you may want to make a point of triggering that, when working your way through the level. That said, you wouldn't need to bother if you plan to complete your set-up with a delayed tunnel checkpoint, something which is always available.
Battle talk
There are lots of ways to enjoy slaying the room's occupants, and I'll talk about that here - but see also the separate later section on reverse battling.
Stealthy melee
It's pretty clear that the room is designed as an invitation to use stealth, so one obvious way to tackle things is to go around whacking the covies one by one. Not exactly a 'battle' as such, but quite enjoyable, and you can see a demonstration in BCM492. Of course, whacking a sleeping Grunt isn't much of a challenge, but you'll certainly need a bit of care getting the two Elites.
To raise the challenge a little, you could oblige yourself to leave the Elites until last. That way it'll be harder to kill the Grunts in the inner area and nearby. Actually in some cases it could be impossible, namely if one or more of the Elites is stationary (perhaps a bit glitched). Really the challenge works best when the Elites are both moving around.
Routing and weaponry, for variation
Whether using stealth or gunplay, the obvious way to tackle the covies is to work your way around the outside clockwise, with an interlude in the central area for killing the covies there. But obviously you don't have to go for such a systematic sweep. You might like to jazz things up a little by using different routes.
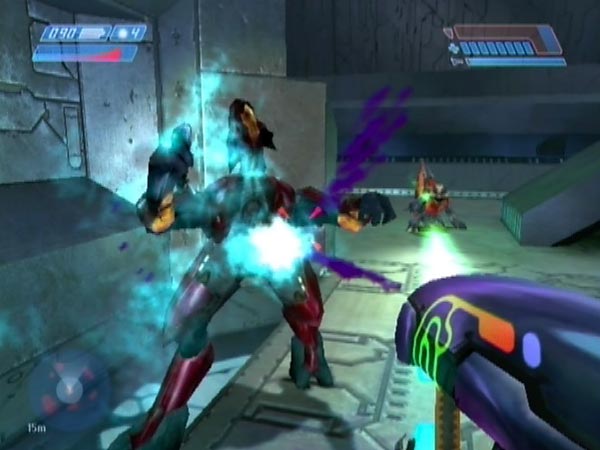
Aside from varying your routes, obviously there's a lot of variation to be had in regard to weaponry. Plasma weapons are great for blasting your way through the covies, and there'll be no shortage of plasma pistols to pick up because all the Grunts have one. The Elites meanwhile have plasma rifles. The AR is another good weapon for visceral fighting, and then there's the explosive fun of the rocket launcher, though you'll need to be careful using it in such tight surroundings, and where covies have a habit of popping up in front of you at close range.
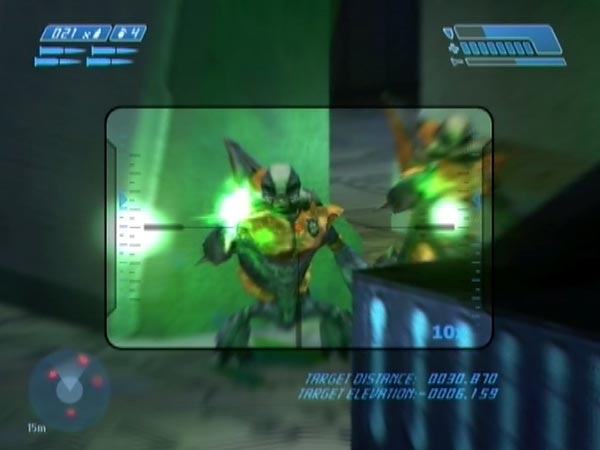
A pistol is good for taking down Grunts fast, and despite the confines you can have a great deal of fun with a sniper rifle, especially in regard to pulling off sneaky shots. Especially see my dedicated movie BCM498 for that; but also see the final play in BCM496, and the shelf talk below.
As for the needler, unfortunately nobody will be dropping a spare for you to use to top up your ammo, so you'll have to ration your needles, unless you've done some crafty work to add spare needlers to the room.
Inner play
Instead of doing the standard thing and using the room's periphery (the outer avenues), you could go into the inner area and try to do as much slaying as you can from there. It's very nearly square, although the room itself is octagonal. It makes for a good run-around and can give you a lot of interesting shots to make as Grunts appear here and there, and perhaps only fleetingly.
One particular thing to watch out for and target is 'tunnel runners', by which I mean Grunts using the tunnels that face the inner area. They seem quite prone to running along those when panicking due to an Elite death; so that's when to keep an eye out. Actually Elites can run the tunnels too, but it seems rare.
Inner play can also make things more challenging because you'll be open to attack from multiple sides; not to mention the threat of the Elites of course. That said, there are two large features which offer good cover. There's the 'beam block' with the blue light at the top, and with deep recesses on its sides, plus there's the elongated 'hump' feature.
You can see some inner play (including a tunnel runner) at the start of BCM493, and there's also some in BCM492 (the pistol & needler play).
Shelf play
Around three sides of the inner area there are shelf-like strips you can easily get up onto to attack from. It's a form of inner play then, but one with its own special feel and possibilities. I'm thinking especially of the sniper rifle here but the rocket launcher is good too (you can see both used in BCM493), and then there's the pistol of course, good for picking off individual Grunts.
See how many covies you can get from up there. As with attacking from the inner area generally, it can give you a lot of interesting shots to make, and angles to find. That can make a nice leisurely play, once the potentially hectic early phase is over. And by the way, it's also fun to do long-range tags on the Grunts who venture up to the multiple high openings for a look-see. That's pretty amusing.
Tunnel use
Another idea for novelty is to focus on using the three tunnels which run parallel to three of the outer avenues. From within a tunnel you can attack covies in the inner area, plus anyone at the ends of the tunnel. But also there's the possibility of shooting Grunts through one of the small outer porthole-like windows if you pick the right moment. That's good fun. You'll be open to quite a bit of fire in a tunnel too, so that can make life interesting.
Speed plays
As with any battle situtation in the game, you can potentially have fun trying to wipe out the enemies as fast as possible, subject to limitations of your own choosing (e.g. restricting yourself to a certain weapon combo). Hone your tactics and see how fast a time you can get. The sleeping Grunts room is excellent for this and you can see some example plays on Legendary in BCM497, where I get some times not much over a minute.
In regard to timing, the convention I use is to first get back against the wall at the start of the final section of the entry passage. The time starts as soon as I move (or fire or throw), and it ends when all the covies are dead, except that I round to the nearest second (though if in doubt, I'd round up to be conservative).
Using a Ghost
You can use a Ghost in the room, possibly placed there in advance, but around the periphery your view of the enemy is often obscured and movement is awkward. It's more enoyable in the inner area where there's more space, but you'll still be left with covies to kill around the periphery.
Adding weapons to the room
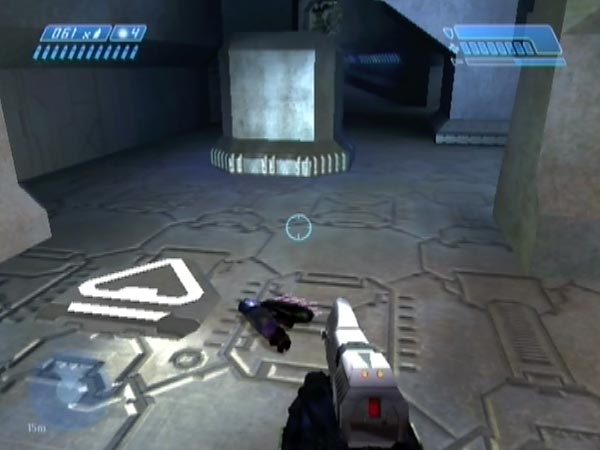
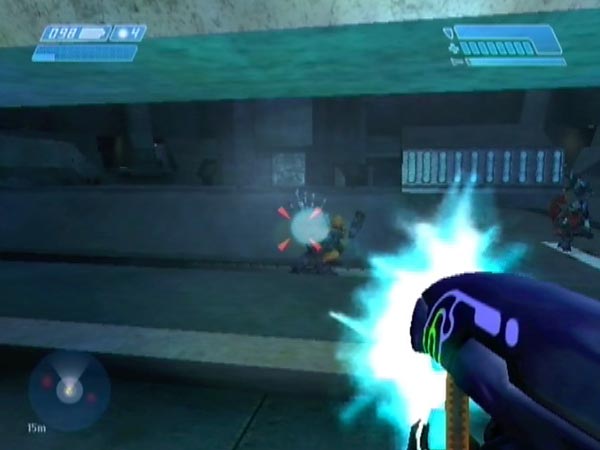
My earlier set-up advice already covered the business of having a bunch of spare weapons available at your starting point so you can choose what to head into battle with, but there's something else you can do if desired. Namely, place spare weapons in the room in advance, i.e. before it gets populated. That way you'll have more options or ammo during battle.
A particular case would be to add lots of needlers so you can engage in the sort of needler rampages seen in BCM499 (see pic below) and BCM502, rather than being limited to only the ammo of a single needler. But there's also the possibility of adding spare pistols, ARs, or plasma weapons, though you may not be much interested in the latter as the covies in the room all carry plasma weapons, making them quite easy to come by.
Such work needs to be done before the room's covies can spawn. Namely, any time before the level's first ground battle is triggered. That limits you to only the weapons available before then. So, covie weapons, pistols and ARs. Incidentally, on Heroic I've been able to harvest almost 9 full needlers from the covies in the level's first room plus the bridge (note: it helps if that room has no Jackals; see here for more on that), and I could've gone on to get probably another three or four from the room that comes after using the lift. So you really can get lots of needlers!
If playing on Heroic or Legendary, I recommend doing a Banshee grab at the first bridge. Alternatively though, you could descend from the bridge to fetch one. Thereafter, weapons can be thrown off the bridge, down to the snow, from where you can move them to the room. It's a long way of course, but you can potentially use the Banshee for much of the trip, speedily blasting weapons along. There are also ARs you can get by killing Marines that came in on the Pelican.
Post-spawning placement
Although there are no sniper rifles or rocket launchers available for advance placement (because they only start appearing with the first ground battle), you do have the option of adding these or other weapons to the room after the room is populated. Weapon can potentially be moved in stealthily to various locations, though you'd be well advised to get a precautionary checkpoint beforehand in case you get spotted. Of course, the drawback of such a set-up is that the covies will already have spawned, which will reduce the amount of variation from battle to battle. But maybe you don't mind about that; especially if you're getting more sniper ammo or rockets!
Reverse battling
Earlier I mentioned varying your routes in regard to battling. A special case of that, which I'll discuss here, is to get yourself all the way around to the end of the room so you can then enjoy fighting in the other direction, so to speak. Fighting in the opposite direction to normal brings a bit of novelty and makes things feel different. You can see one example in BCM493 at 5:19.
Assuming the covies haven't yet been alerted, it's usually quite easy to use the periphery to reach the end undetected, though you might instead like to live a bit more dangerously by cutting across the inner area, which may carry a greater risk of being spotted by the Elites. Even if the alarm goes up by the time you're across the inner area though, you'll probably still be able to reach the end without too much trouble. It just means you may have to start the covie slaying a bit early!
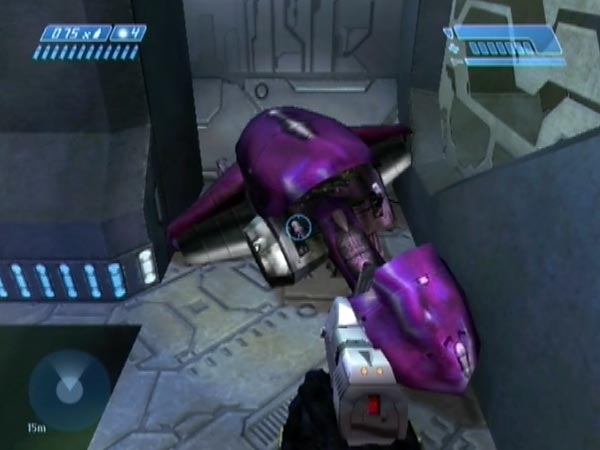
Wall transit via Ghost boarding
Instead of sneaking your way around to the end though, there's something else you can do which I'd say is well worth it. Recall that when you enter the room, there's a dividing wall off to the right, just nearby. The place you want to reach is the other side of that wall. Well, if you've placed a Ghost on that side in an appropriate way, you can actually go through the wall by boarding the Ghost! And hey presto, you'll be ready to start a reverse battle (and incidentally, if you dismount from the Ghost fast, the Grunts nearby don't wake up).
The Ghost just needs to be placed there in advance (i.e. before the covies can spawn, like when adding weapons to the room), and with careful positioning so the boarding prompt will show up when you're on the other side of the wall. See the picture here for a suitable arrangement (in which the Ghost is typically in an unsettled state, bobbling about), or see my tutorial BCM501. Once you've placed the Ghost though, be sure to go around to the other side to check that the boarding prompt indeed shows up. Then complete your set-up with the usual work. With such a set-up, reverse battles can be quickly initiated, addding extra flexibility. Of course, you could also do a wall transit at any time during a play. A magic shortcut at your disposal.
Further remarks
Here are some assorted further remarks or details concerning the room and the battling.
Music trigger
The music doesn't necessarily start when the covies spawn. It starts only when the door opens. If a Grunt spawns near the door, his presence causes the door to open and you thus get the music immediately. Otherwise it'll be delayed until you get near the door yourself.
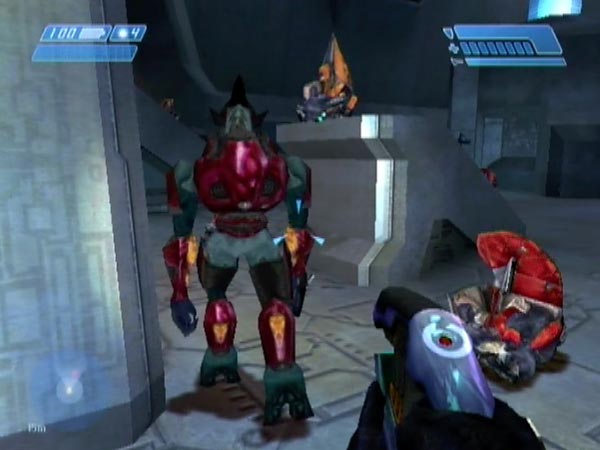
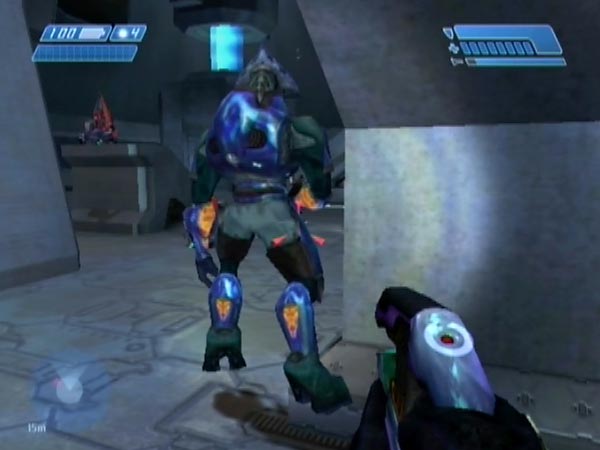
Stuck covies
A notable shortcoming of the covies in the room is that they easily get effectively stuck (immobilised) on the bevelled skirting which is all over the place. In particular, it's quite common to find one of the Elites like that at the start of the inner area (see pic), having taken just a few steps and ended up there, something you can potentially witness happening if you run there immediately. He can be stuck there for ages while a battle is raging, which isn't really ideal.
Elites also commonly get stuck on a corner of the large hump feature in the inner area. Grunts can fall foul of the hump too, but mostly they get stuck on the skirting around the room's periphery. That's really very common. A stuck covie may at some point get freed though. I think the main reasons for that would be if he dives to get clear of a grenade, or if he's shunted by a nearby blast.
Flashlight use
Parts of the room's periphery are relatively dark, so you may like to use your flashlight there. When in casual state, the covies don't sense your presence by a flashlight shining on them. However, they will if they're in a state of alert.
Glitchy glass
The main window of the first tunnel seems to be glitchy, in that it may not shatter when it ought to. If you shoot at it other than with a needler, it should of course shatter. But across a large part of the window in its rightmost half as seen from within the tunnel (potentially shooting out at covies), it fails to do so, and your shots pass through. Shots from the covies can likewise pass through to you, and grenades can pass through also. Quite mysterious, and it only seems to affect this one window. The other tunnel windows seem fine.
It can be a little off-putting having a raging battle through a pane of glass. If you want to shatter it on purpose so you won't be fighting through it, my advice is to either use a grenade blast, or shoot the window in its left half. That said, it can also be shattered on much of the right if you shoot it very low down.
Skipping some spawning
A note on setting up. Once the first ground battle has been triggered (essential for the room's covies to be able to spawn), there's a lot of spawning you could skip by flying sufficiently high in a Banshee to avoid the relevant triggers. In particular you could skip the spawning at the crashed Pelican area, and in that case there also won't be any spawning in the subsequent two-Wraith area. After going through the cavern and rising tunnel (areas which will populate), you could skip the tower trigger, in which case no more covies will spawn until the room itself. But for reasons of weapon assembly, you probably won't want to do that.